Postgres
Connect a Postgres database step by step: the read role, both ways to sign in, and what is read.
Connect it
- Name it: what to call this connection, and the deployment it belongs to.
- Name the database: host, database, schema and the reading role.
- Choose how to sign in: password or AWS IAM.
- Set a password: the password the reading role signs in with.
- Provision the read role: create the reading role and grant it read access.
- Query-based lineage, if you want it: optional: lineage from pg_stat_statements.
- Choose what is read: optional: narrow it to some tables.
- Test the connection: check Convalesce can reach it with what you entered.
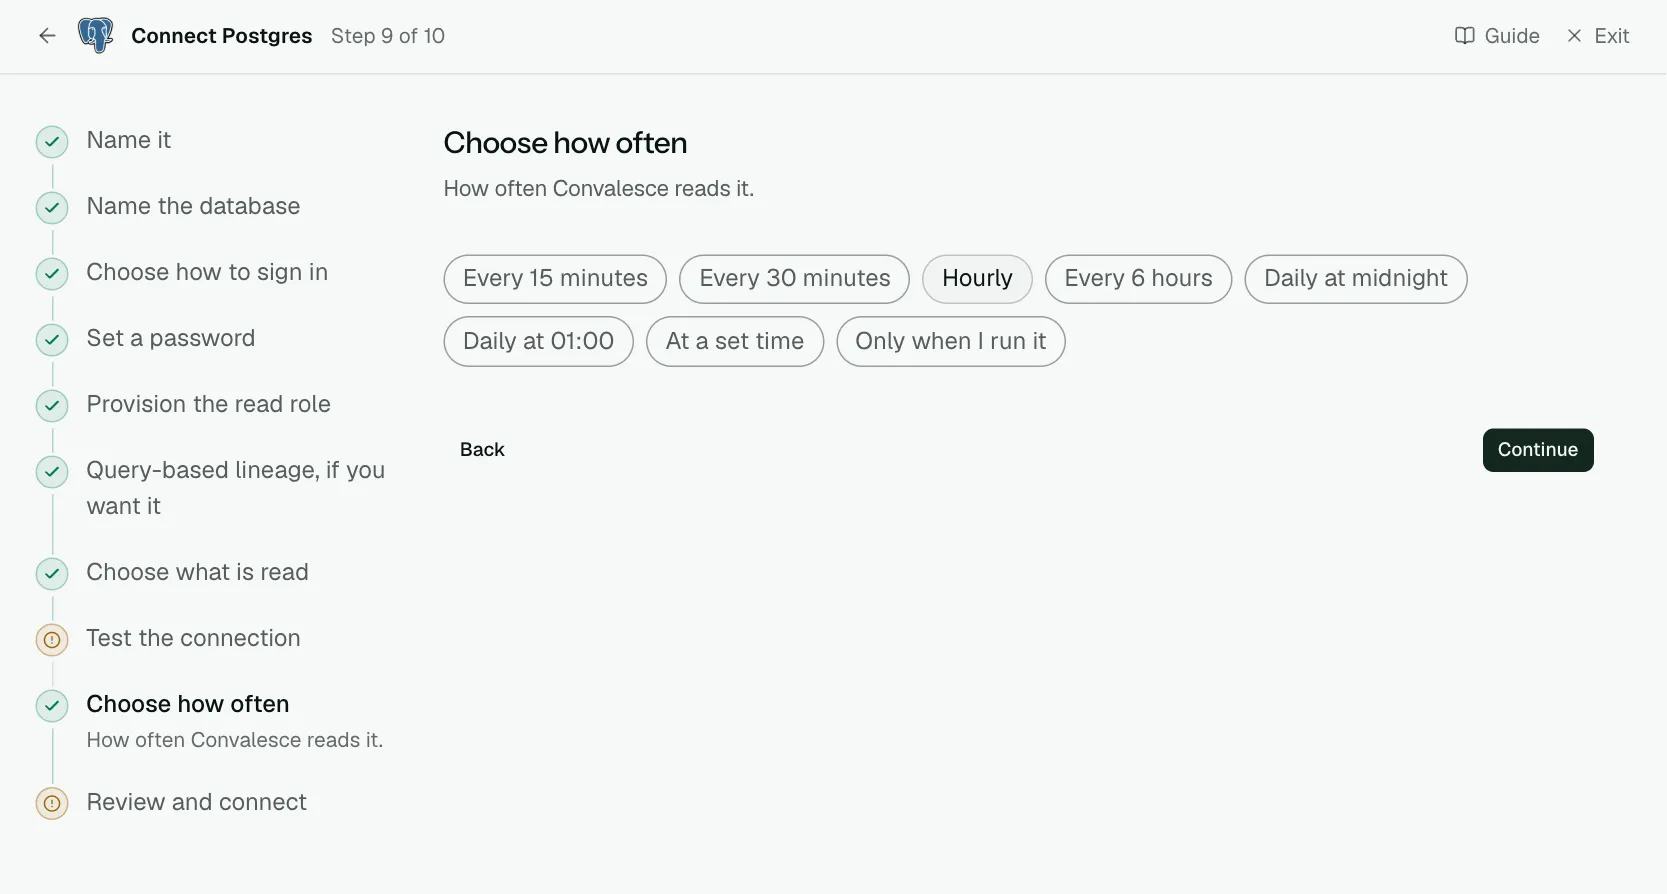
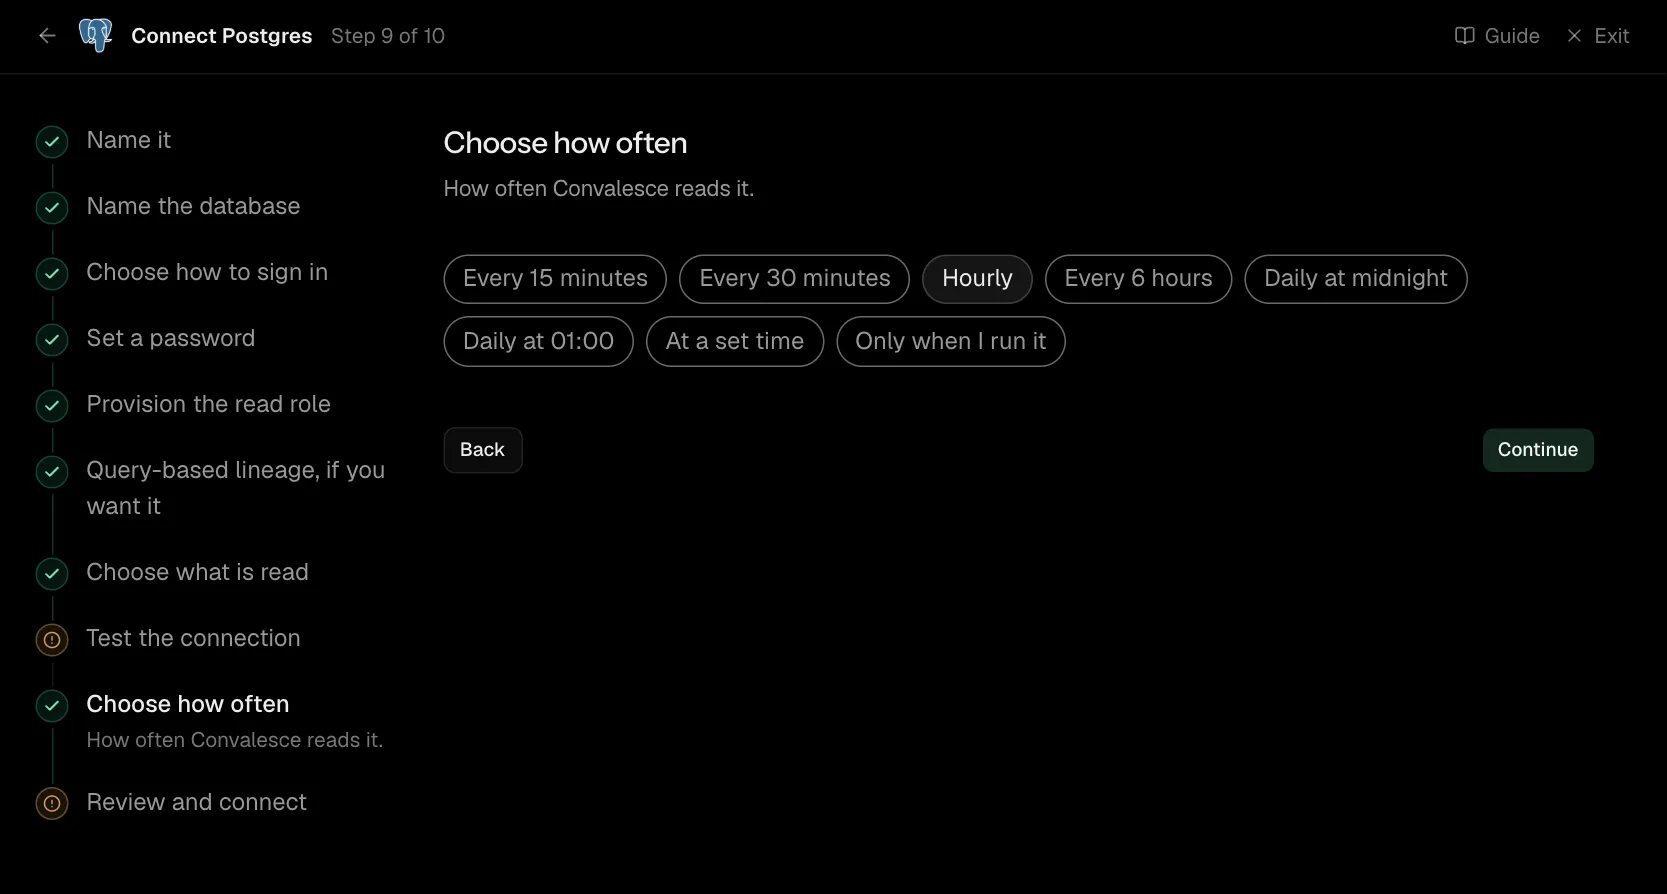
- Choose how often: how often Convalesce reads it.
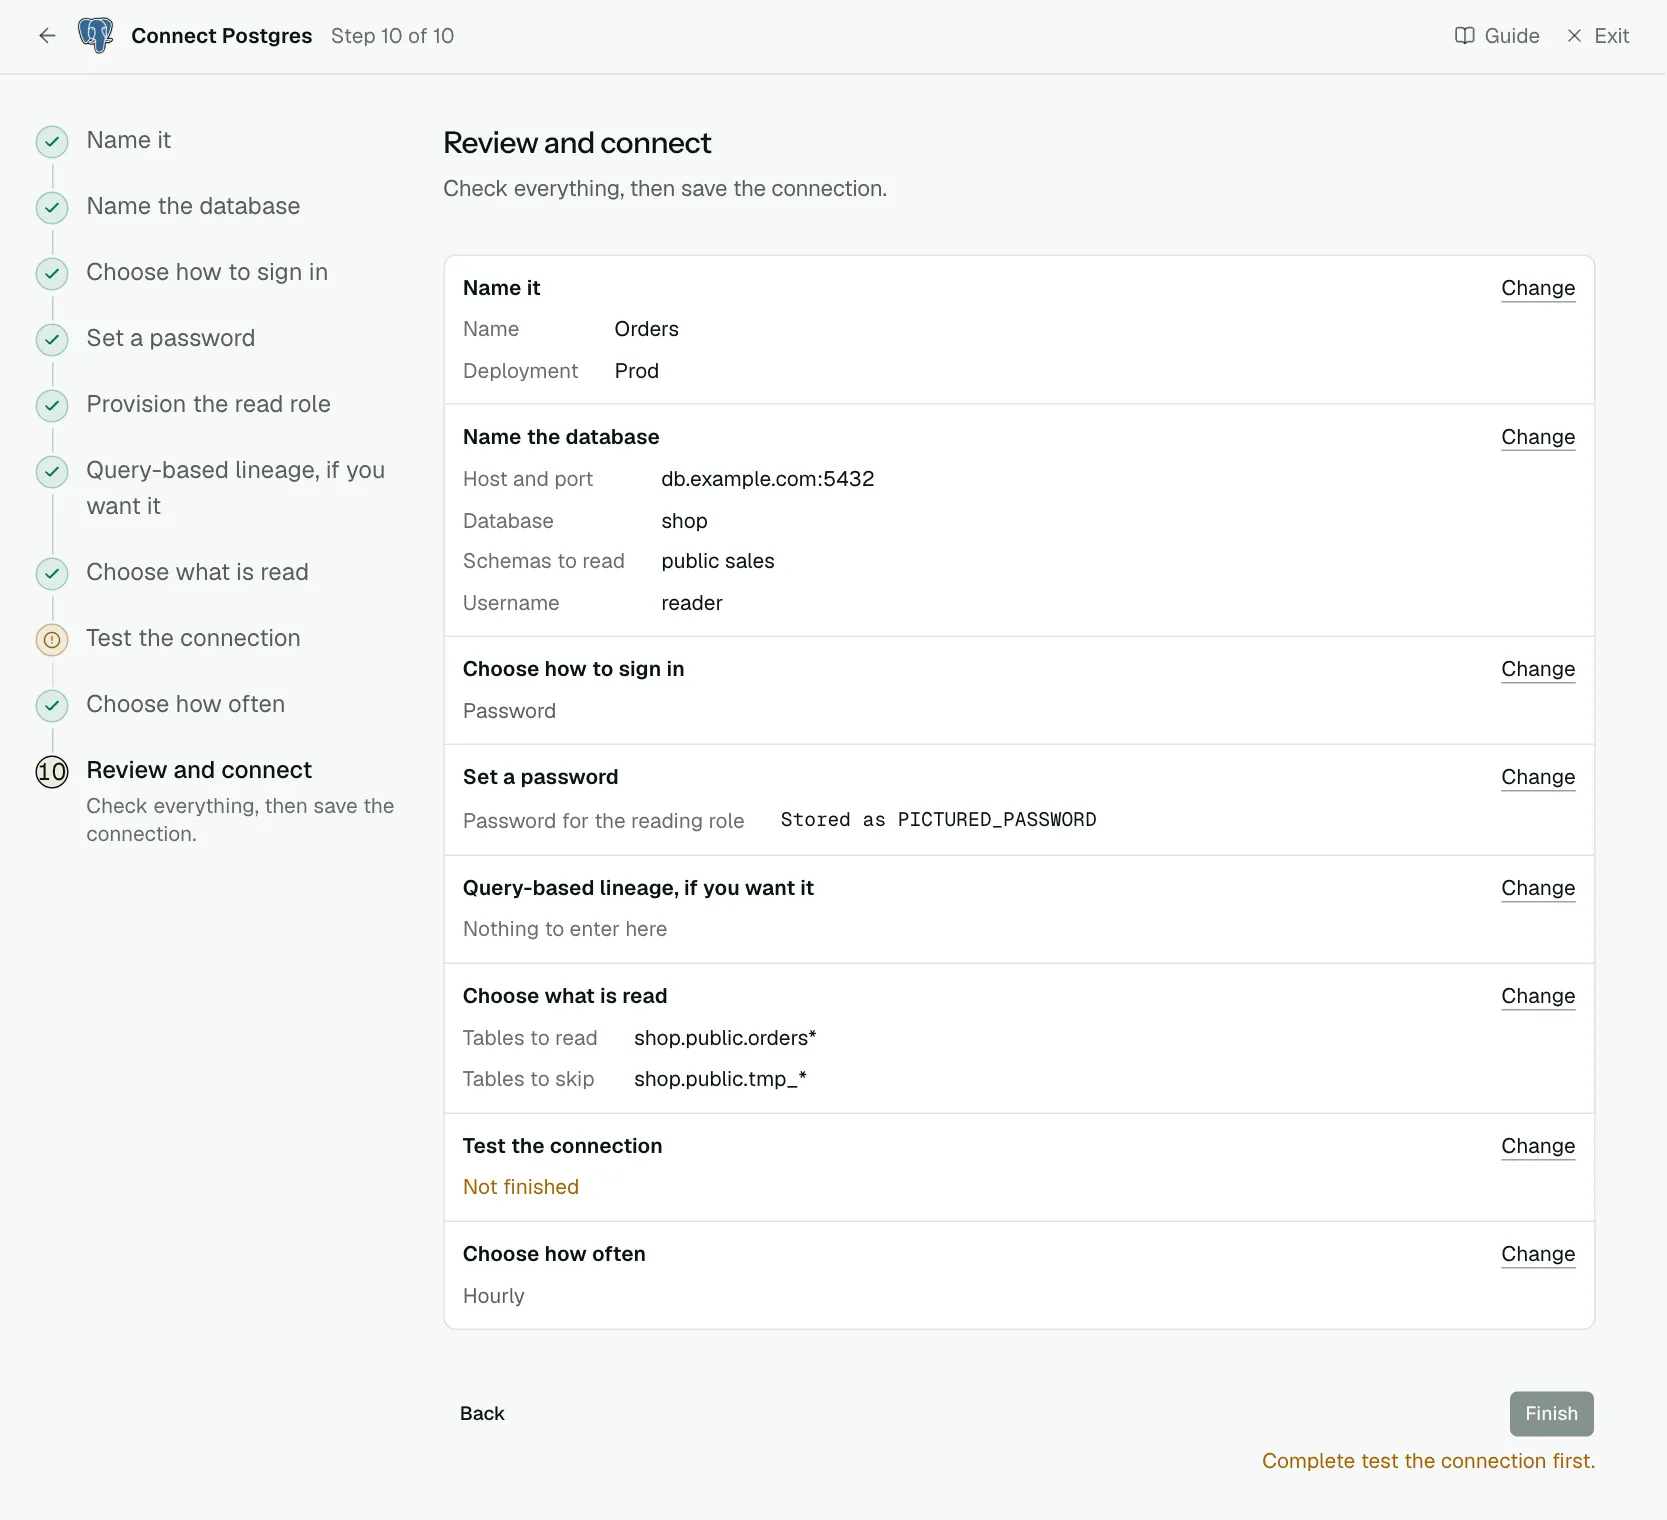
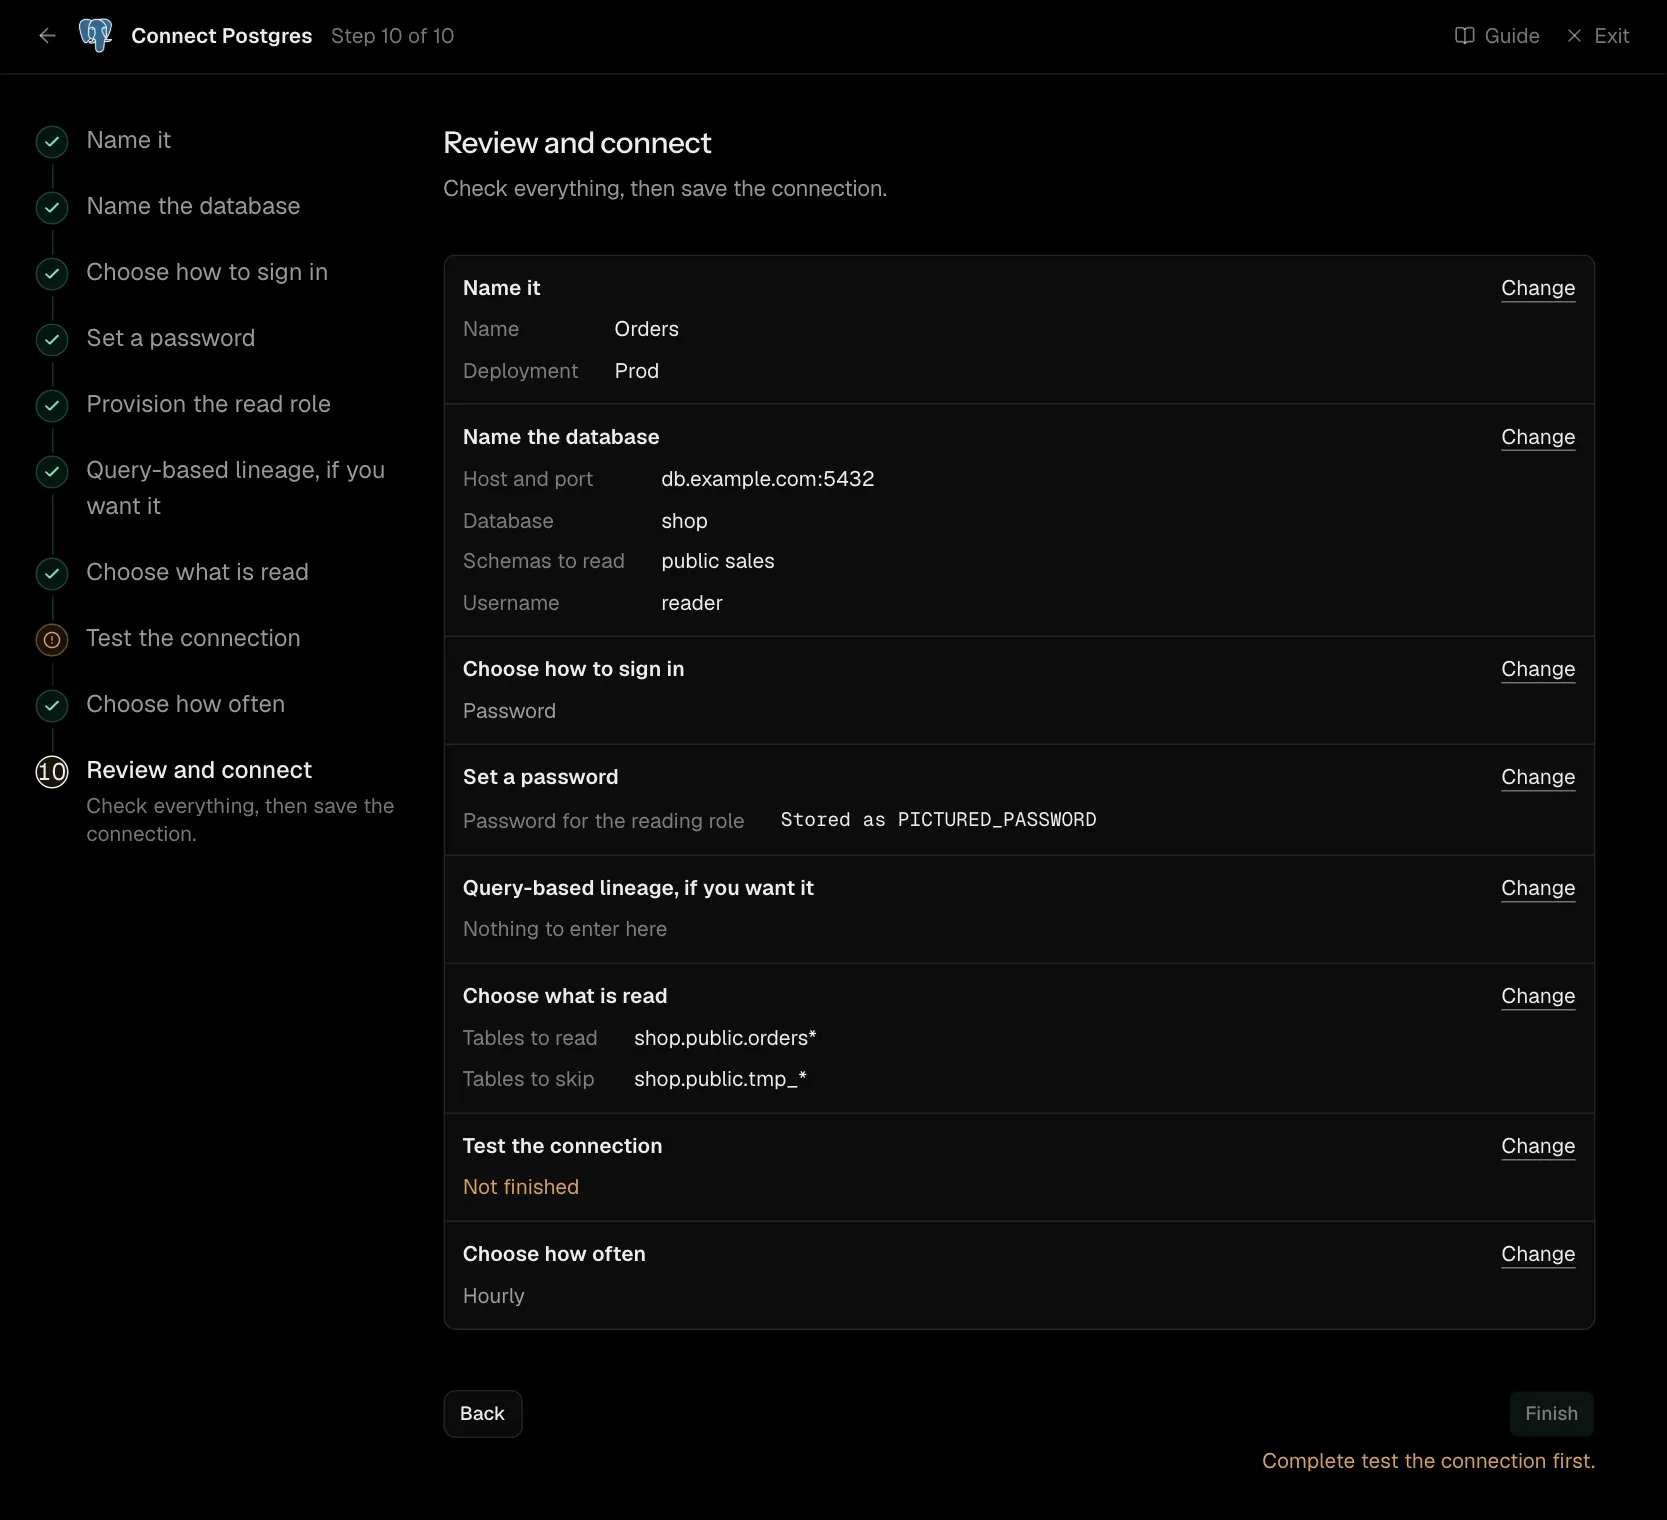
- Review and connect: check everything, then save the connection.
Convalesce reads your Postgres database through one read-only role that you create. The connect screen writes the SQL for that role from your own answers, so there is nothing to work out by hand.
It works with any Postgres that has a public address: Amazon RDS and Aurora, Google Cloud SQL, Azure Database for PostgreSQL, Supabase, Neon, or your own server.
Convalesce is a hosted service, so it connects to your tool over the internet. Nothing is installed on your side.
Before you start
Have these ready and the rest takes a few minutes:
- The database's host and port, and which schemas you want read.
- A user who can create a role and grant privileges, to run one script.
- For AWS IAM sign-in: an access key for an IAM user allowed to connect to the instance.
Connect it
In Convalesce, open Integrations, choose Postgres, and follow the steps. Each one is shown below as it looks on screen, with what it asks for and anything to copy and run.
The steps depend on one choice: Choose how to sign in. Pick yours here, and every step, picture and script below follows it.
username and password against the role below. Simplest option.
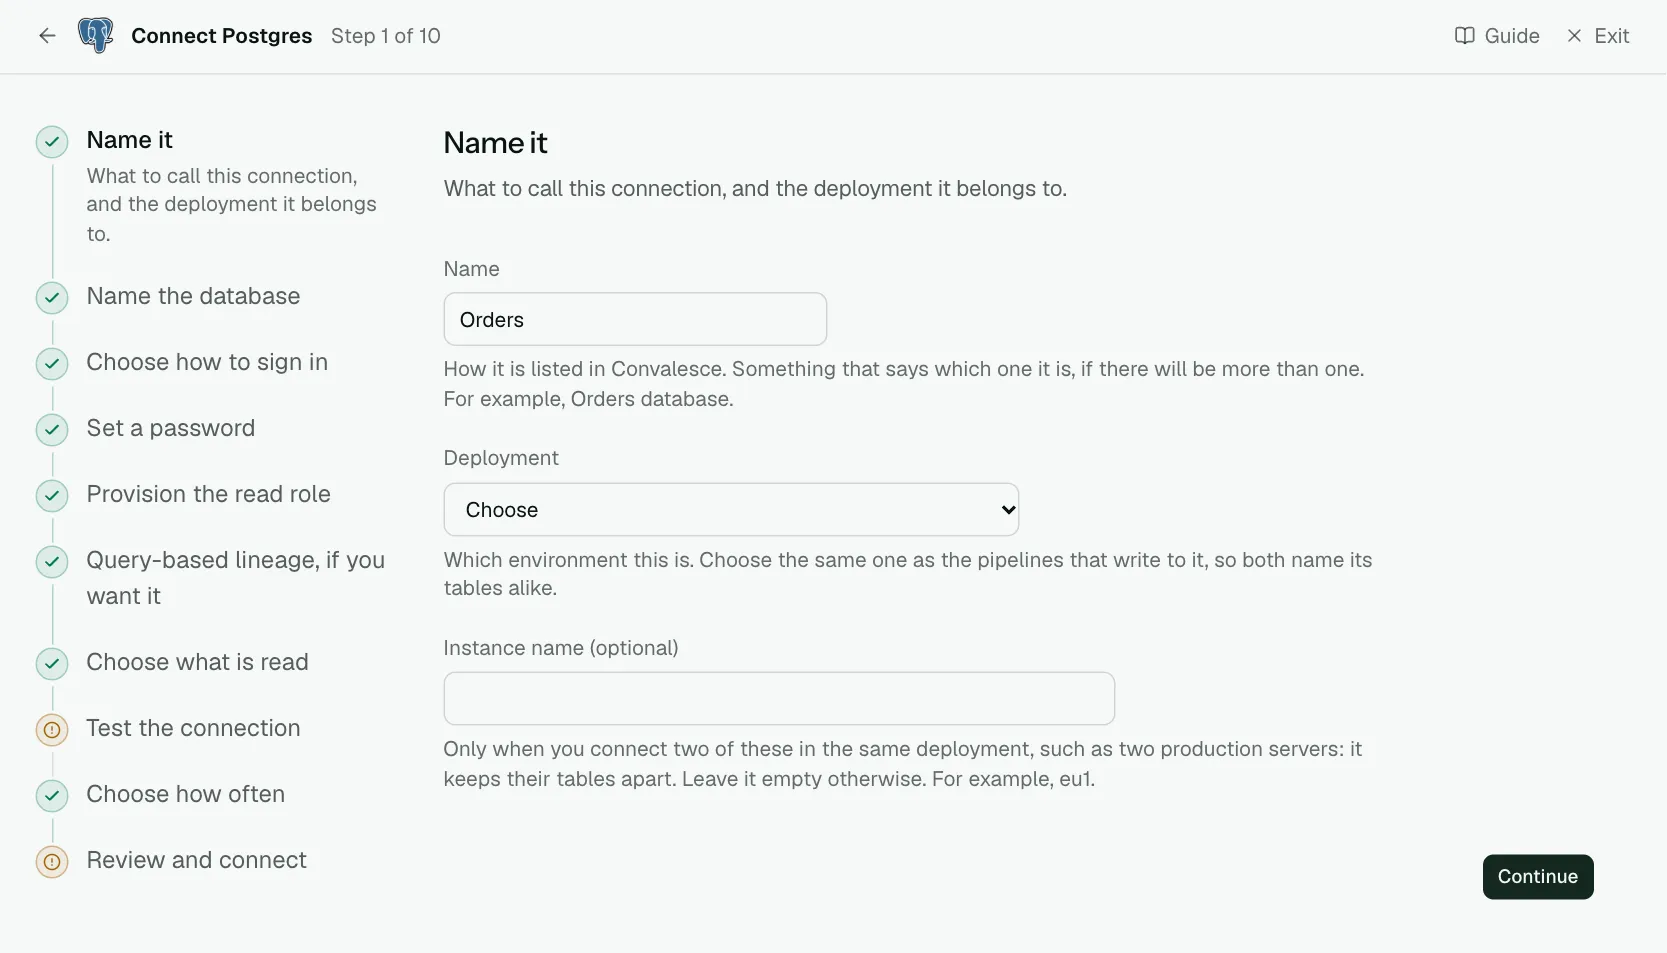
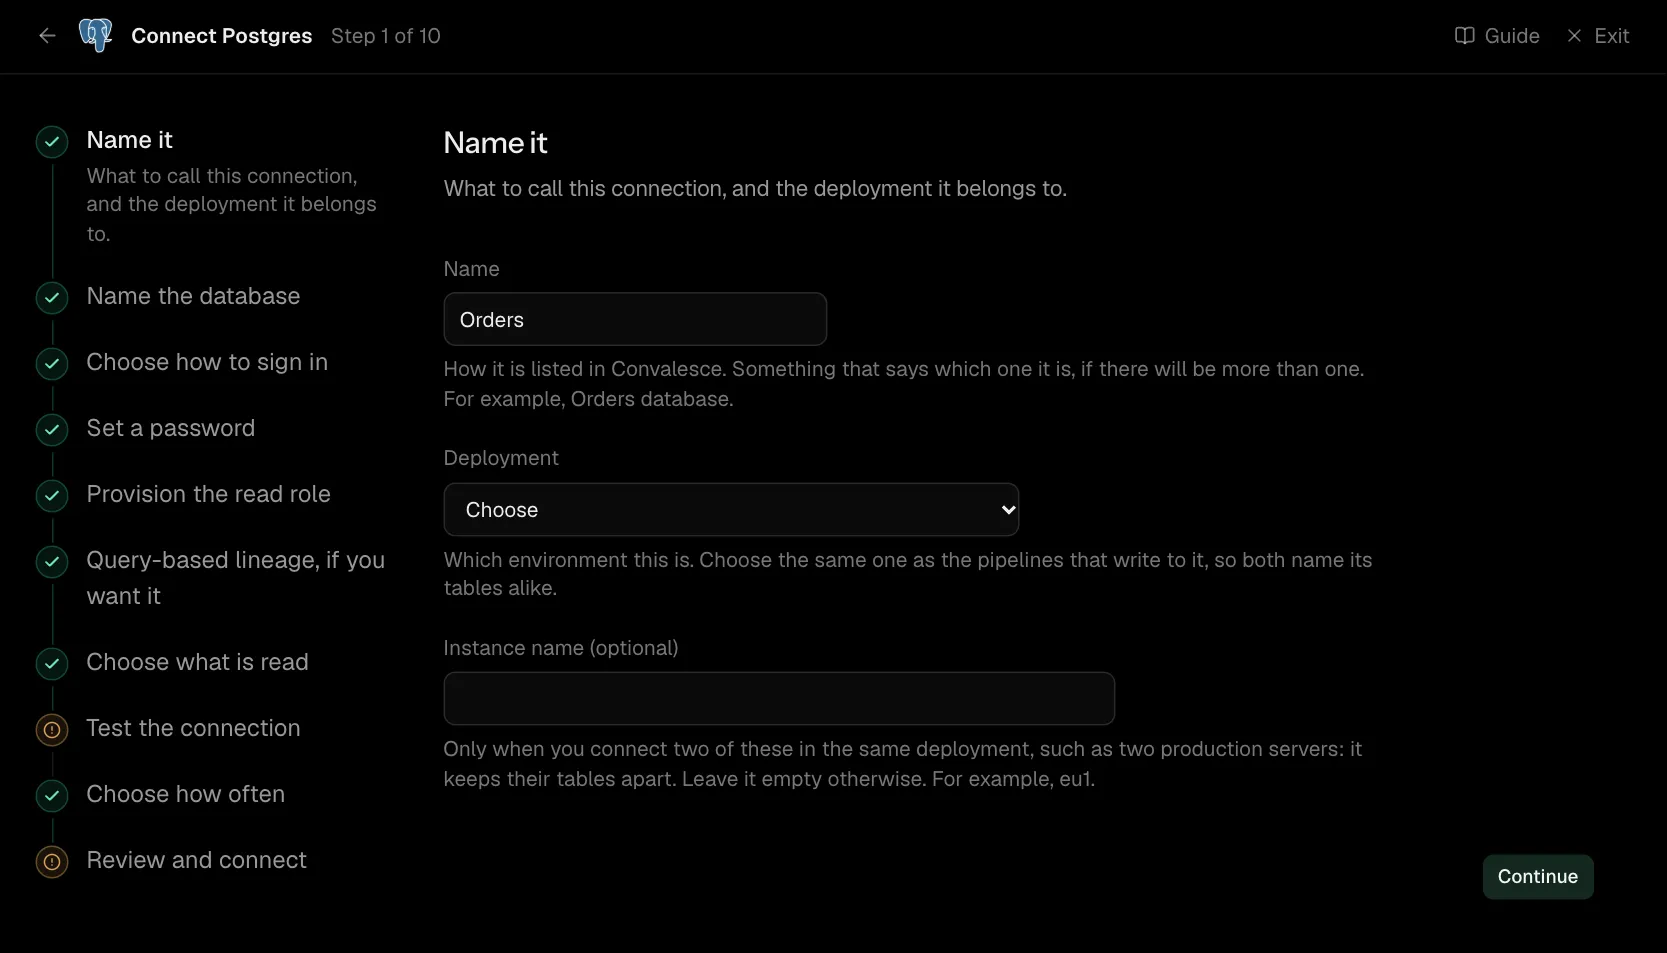
Step 1 of 10: Name it
What to call this connection, and the deployment it belongs to.
| What it asks for | Needed | What to enter |
|---|---|---|
| Name | Yes | How it is listed in Convalesce. Something that says which one it is, if there will be more than one. For example, Orders database. |
| Deployment | Yes | Which environment this is. Choose the same one as the pipelines that write to it, so both name its tables alike. Choose one of: Production, Staging, Development, Test, Quality assurance, User acceptance, Pre-production, Sandbox. |
| Instance name | Optional | Only when you connect two of these in the same deployment, such as two production servers: it keeps their tables apart. Leave it empty otherwise. For example, eu1. |
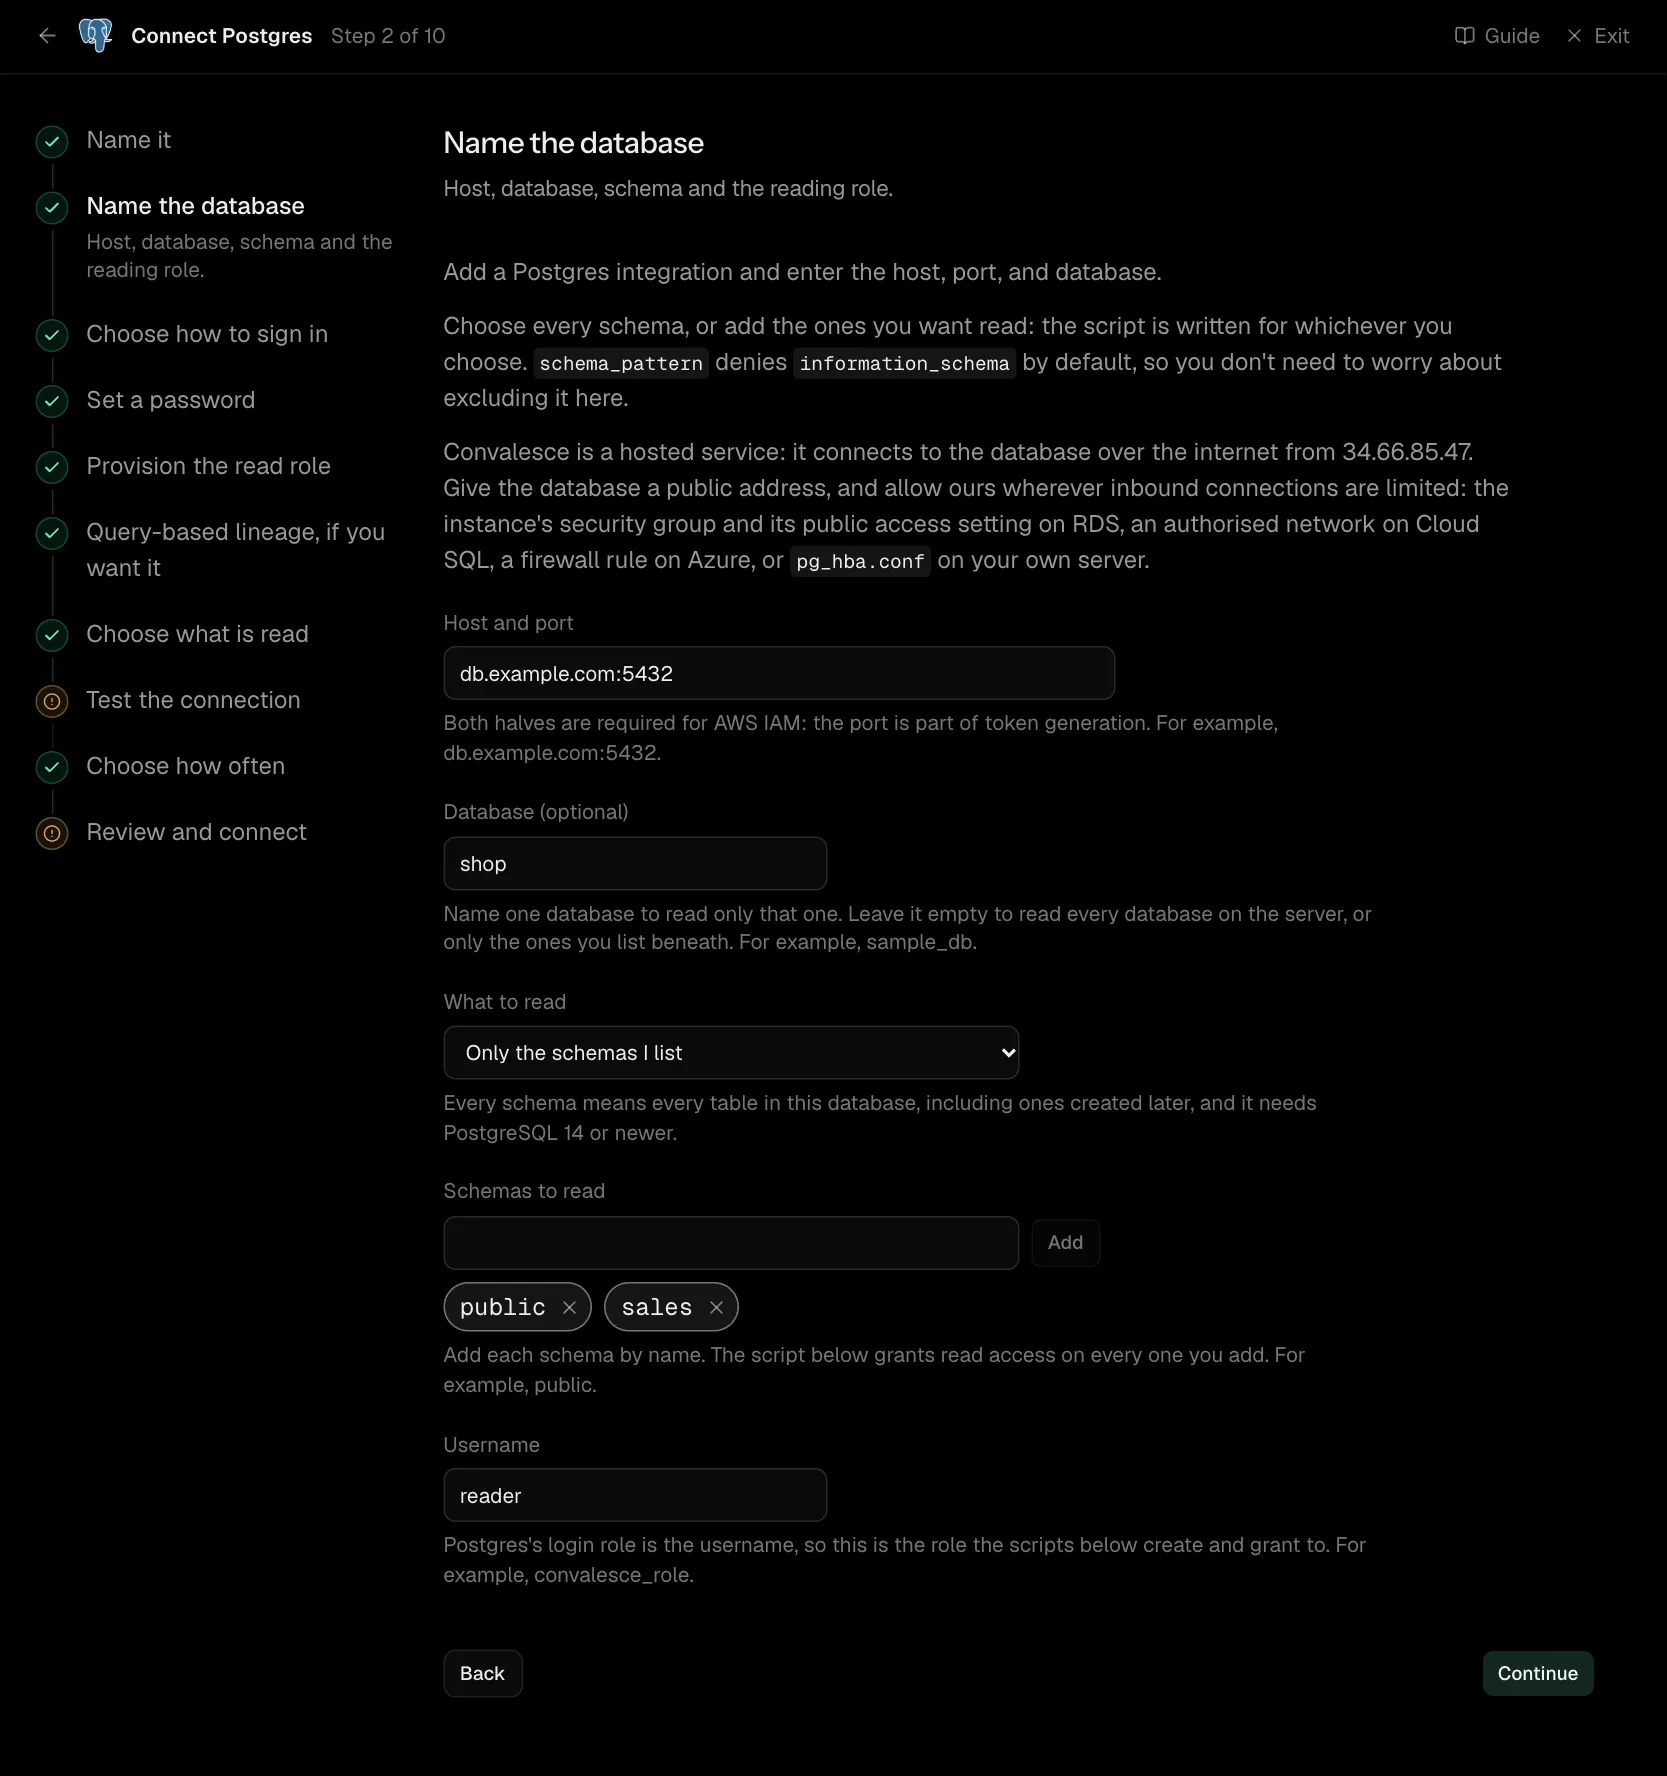
Step 2 of 10: Name the database
Host, database, schema and the reading role.
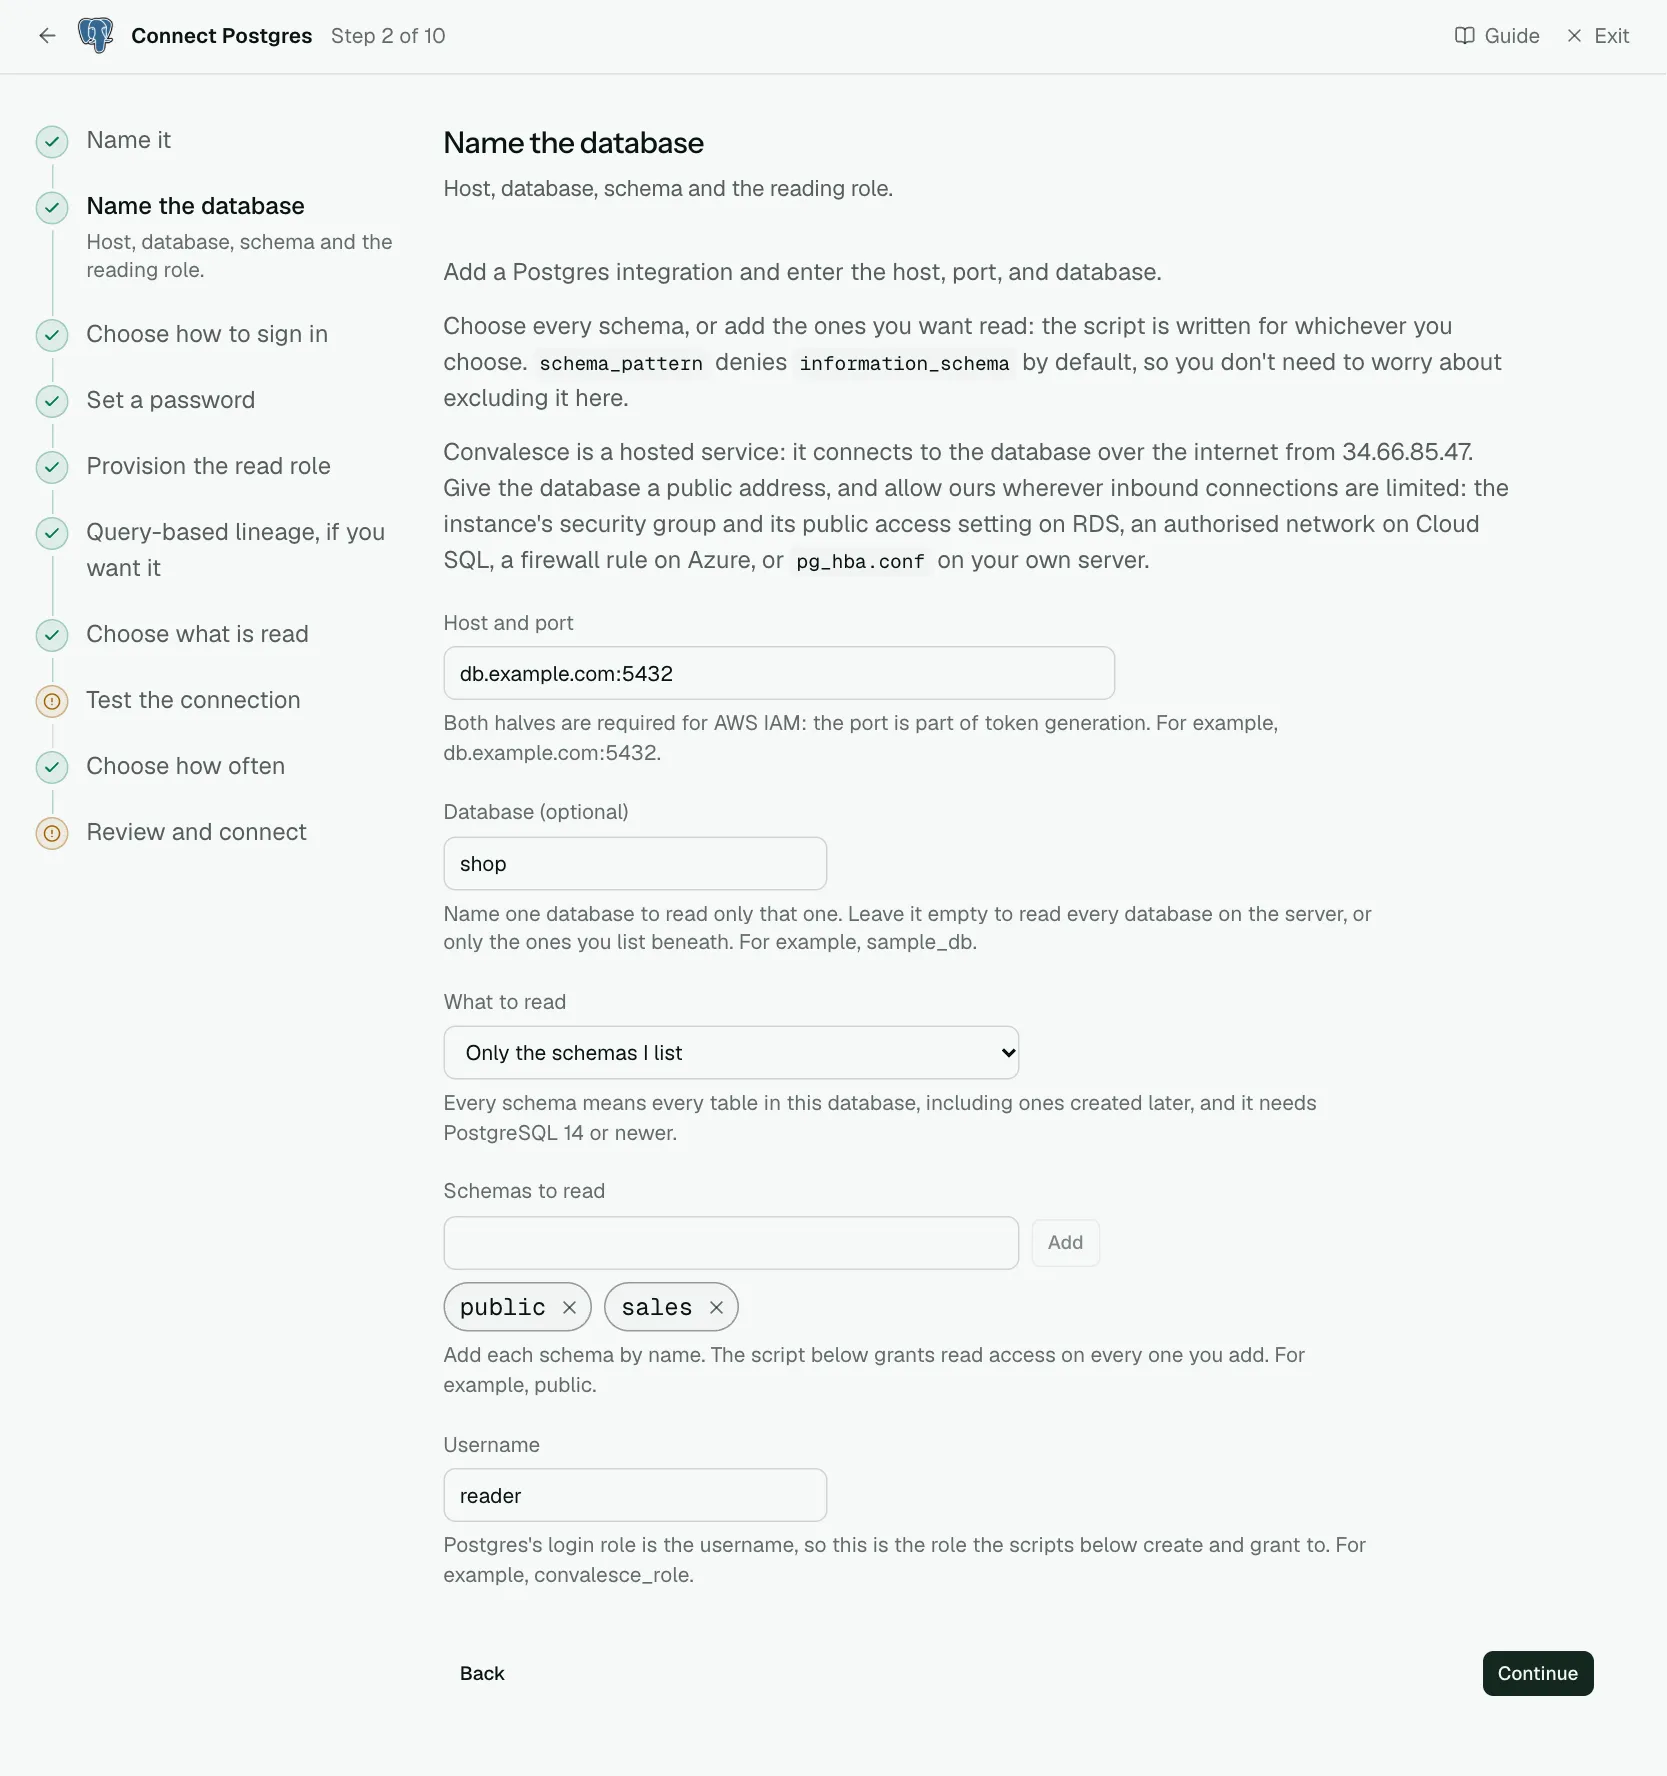
Add a Postgres integration and enter the host, port, and database.
Choose every schema, or add the ones you want read: the script is written for whichever you choose. schema_pattern denies information_schema by default, so you don't need to worry about excluding it here.
Convalesce is a hosted service: it connects to the database over the internet from 34.66.85.47. Give the database a public address, and allow ours wherever inbound connections are limited: the instance's security group and its public access setting on RDS, an authorised network on Cloud SQL, a firewall rule on Azure, or pg_hba.conf on your own server.
| What it asks for | Needed | What to enter |
|---|---|---|
| Host and port | Yes | Both halves are required for AWS IAM: the port is part of token generation. For example, db.example.com:5432. |
| Database | Optional | Name one database to read only that one. Leave it empty to read every database on the server, or only the ones you list beneath. For example, sample_db. |
| What to read | Optional | Every schema means every table in this database, including ones created later, and it needs PostgreSQL 14 or newer. Choose one of: Only the schemas I list, Every schema in the database. |
| Schemas to read | Yes | Add each schema by name. The script below grants read access on every one you add. For example, public. |
| Username | Yes | Postgres's login role is the username, so this is the role the scripts below create and grant to. For example, convalesce_role. |
Step 3 of 10: Choose how to sign in
Password or AWS IAM.
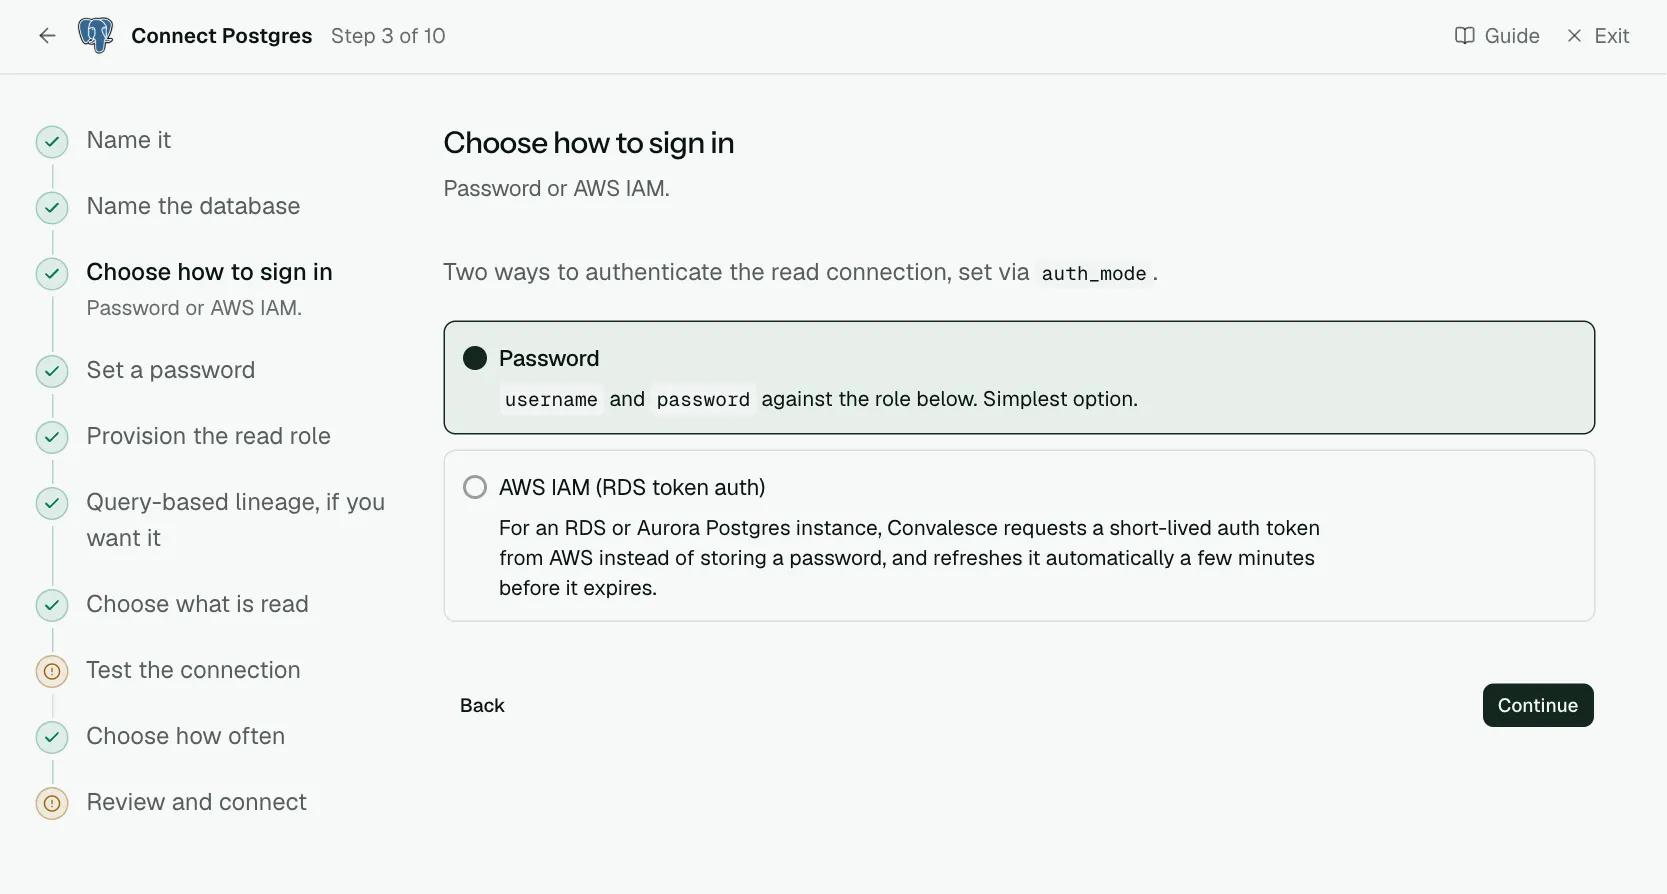
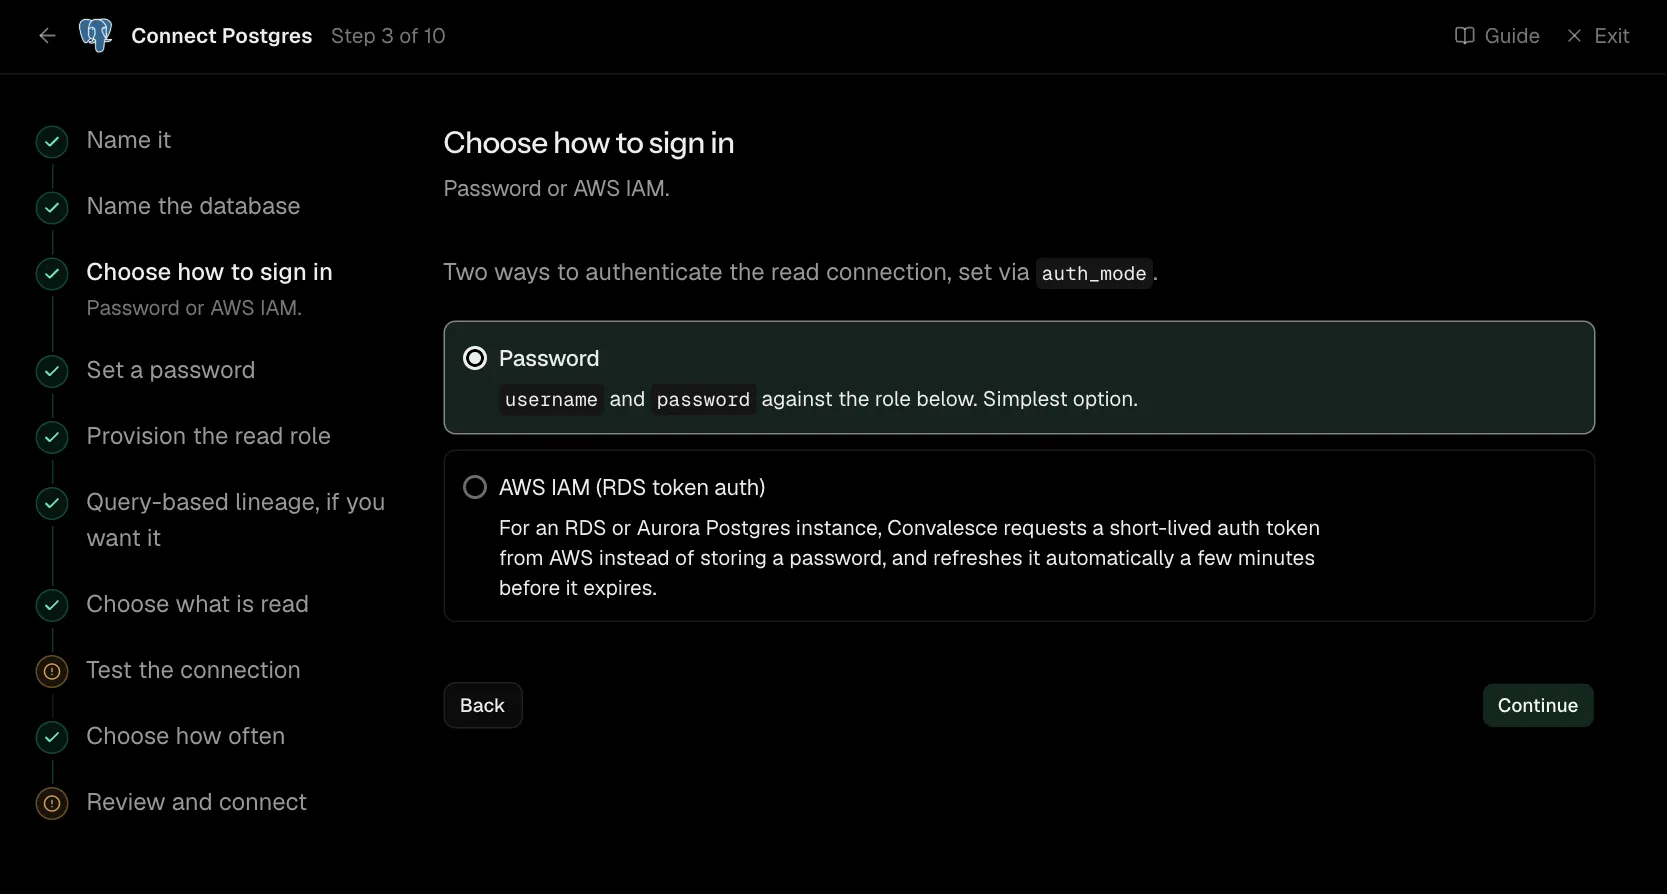
Two ways to authenticate the read connection, set via auth_mode.
Step 4 of 10: Set a password
The password the reading role signs in with.
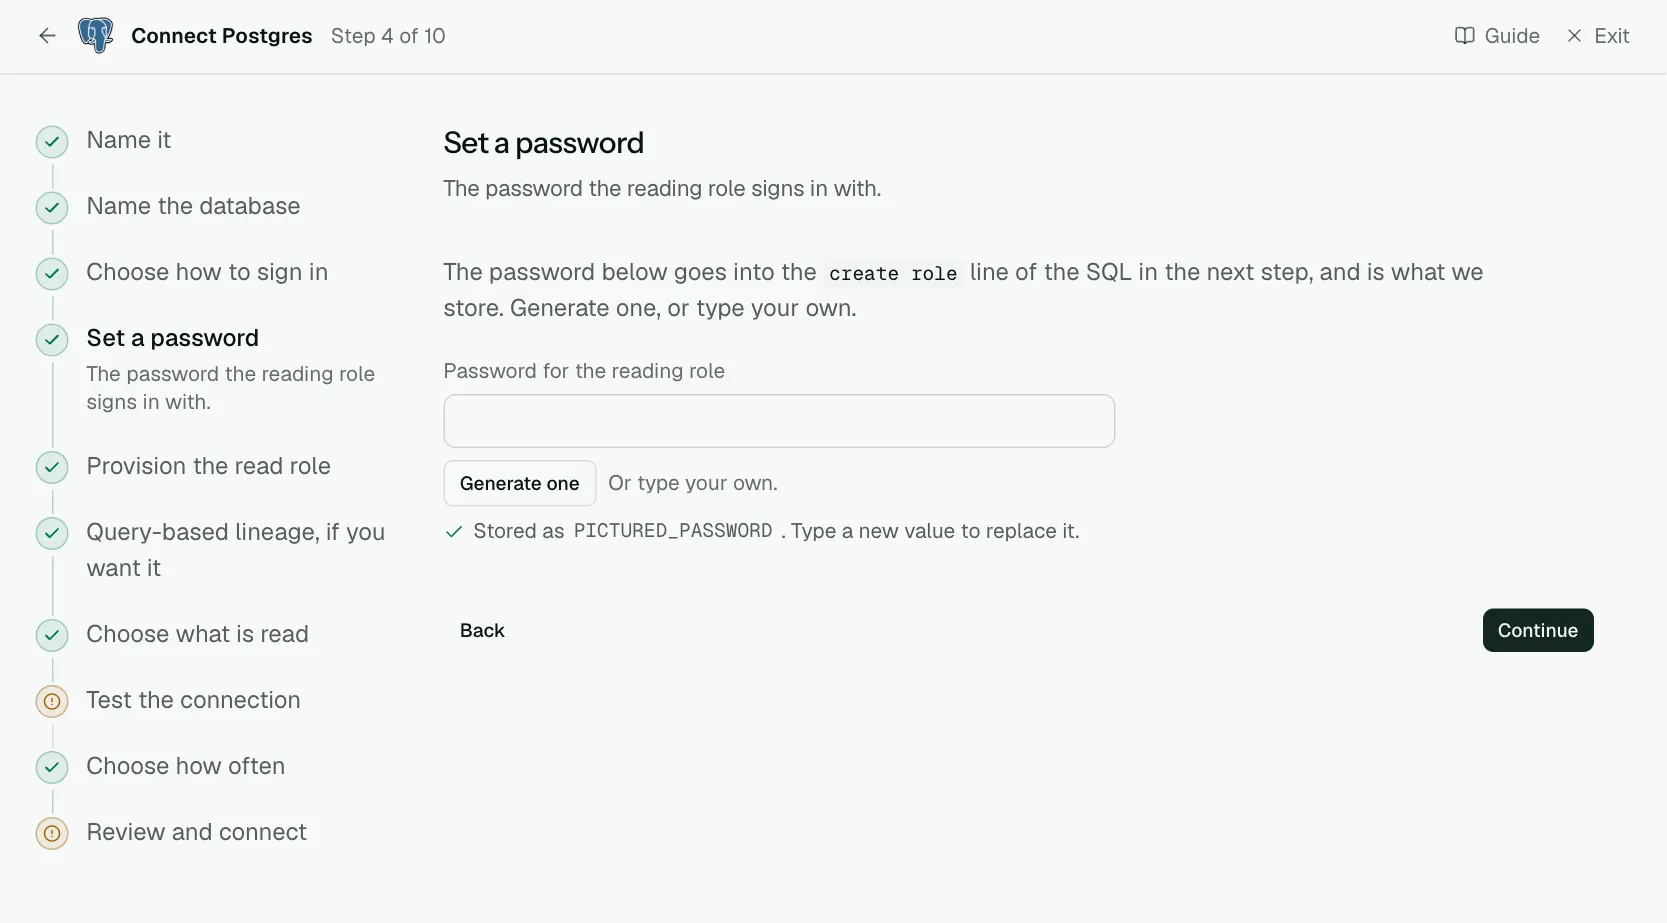
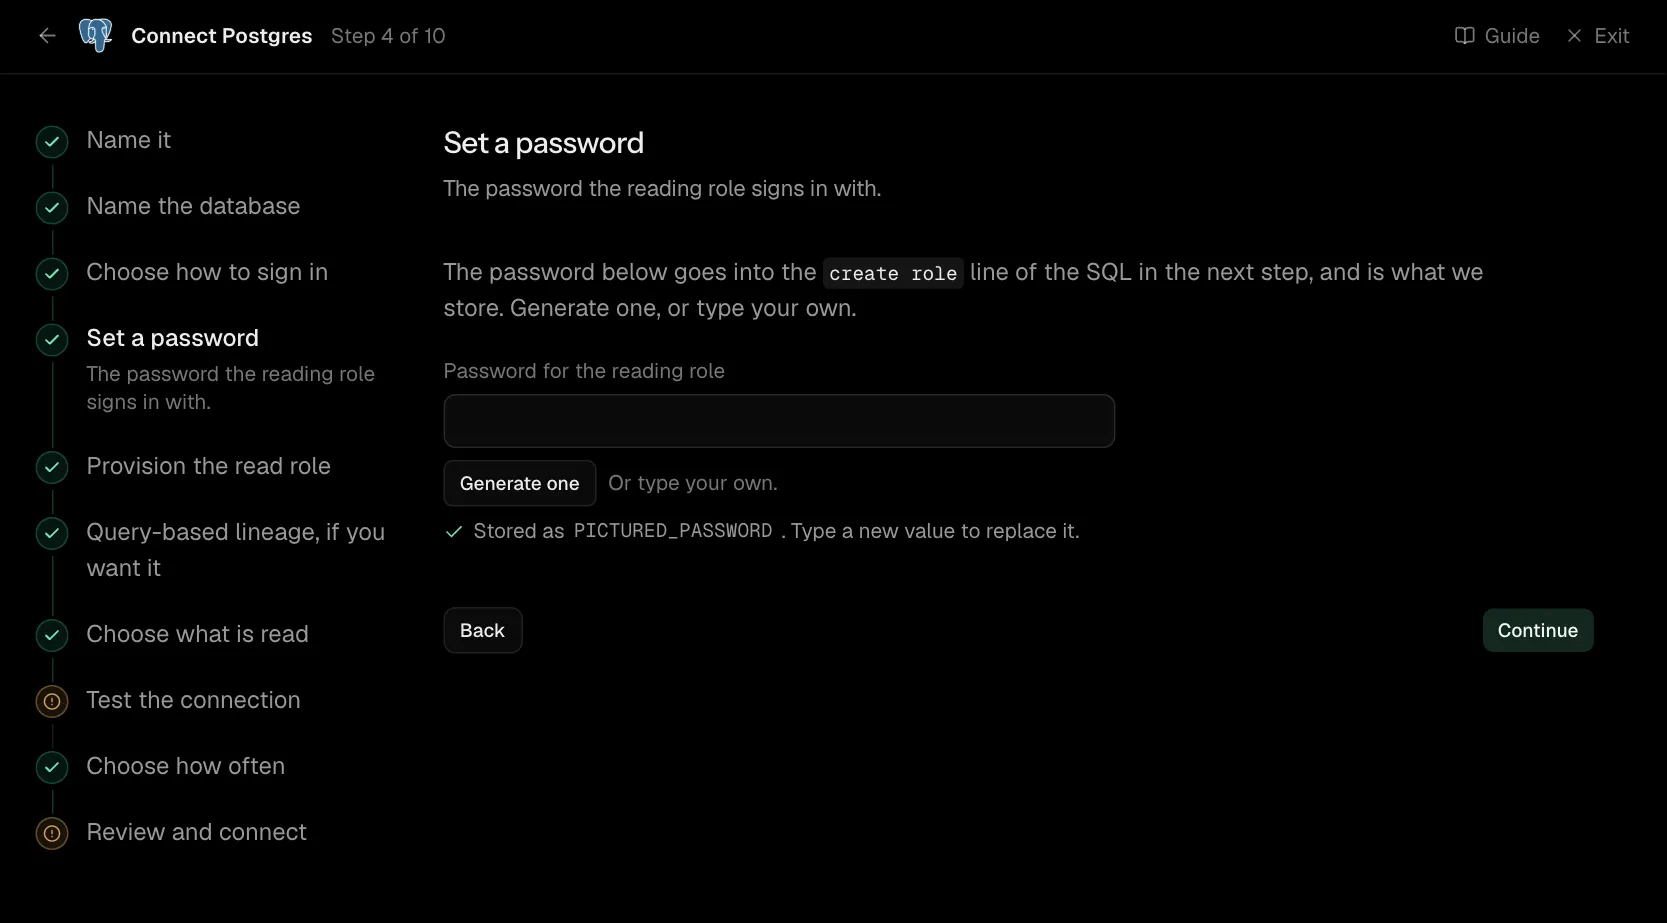
The password below goes into the create role line of the SQL in the next step, and is what we store. Generate one, or type your own.
| What it asks for | Needed | What to enter |
|---|---|---|
| Password for the reading role | Yes | Stored encrypted the moment you enter it, and shown to no one afterwards. |
Step 5 of 10: Provision the read role
Create the reading role and grant it read access.
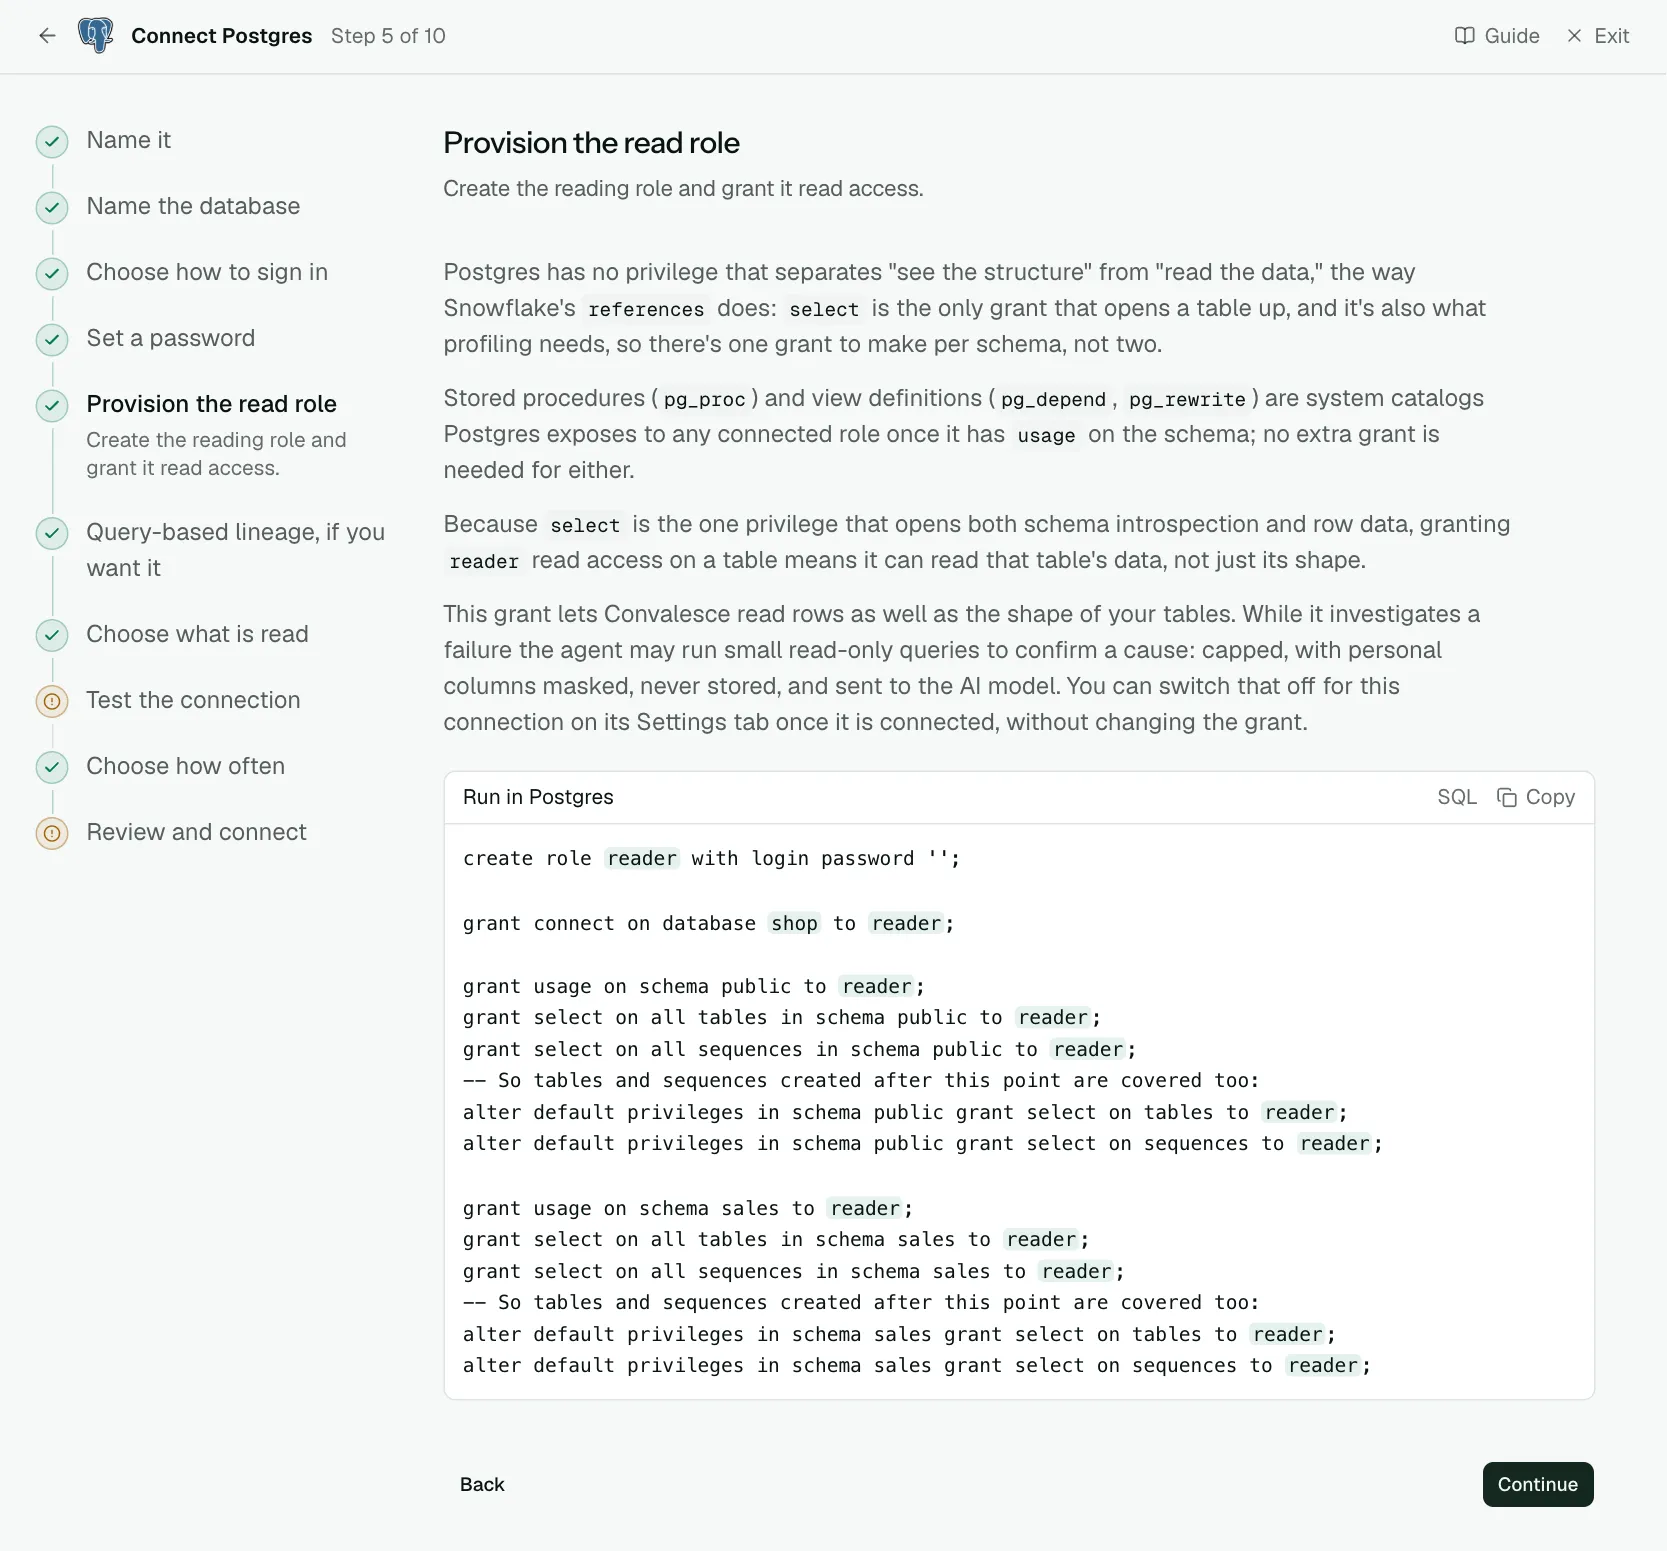
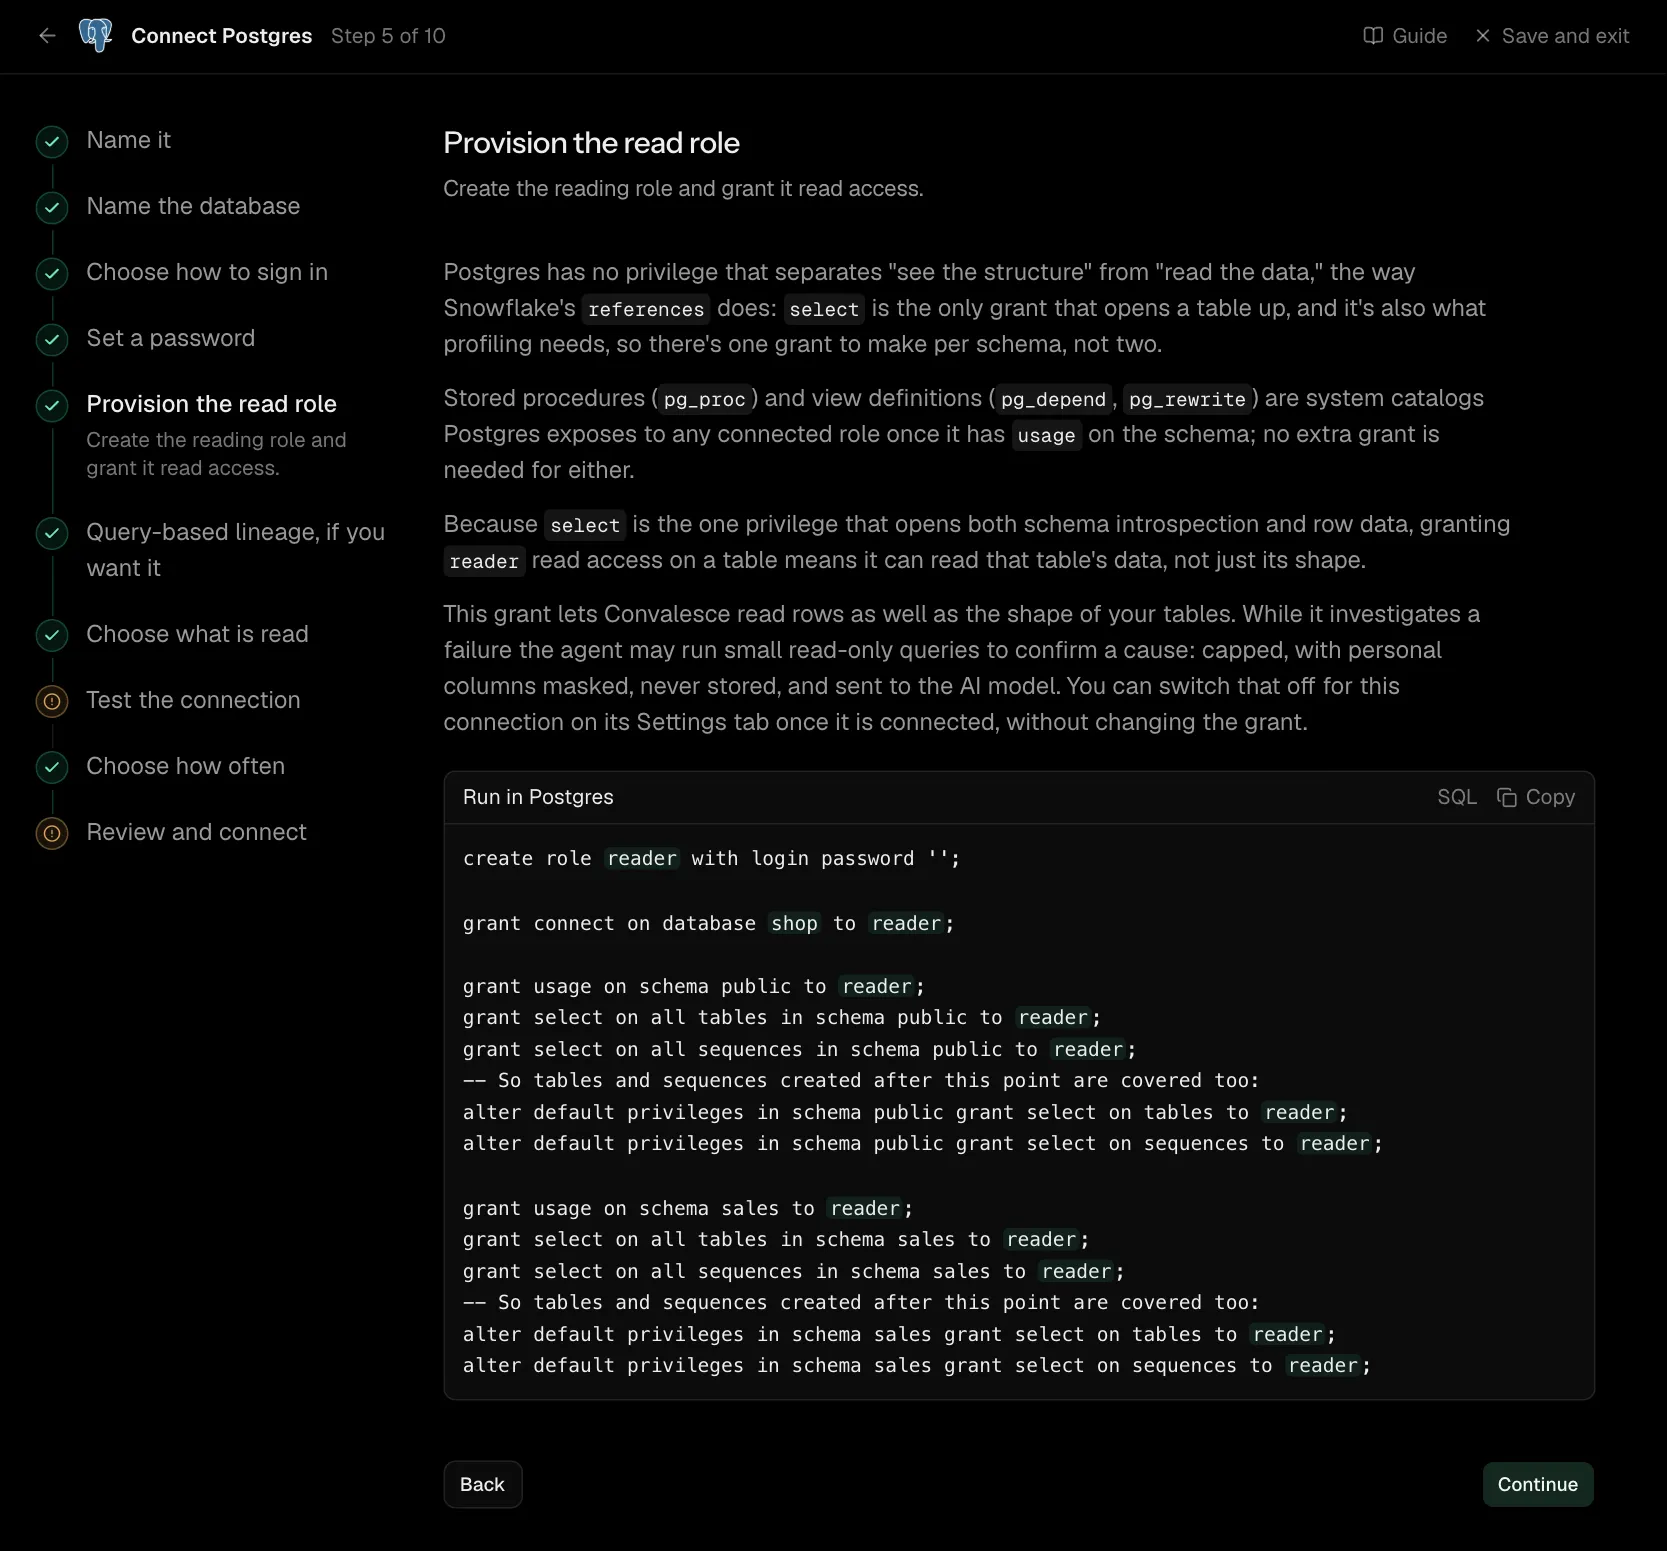
Postgres has no privilege that separates "see the structure" from "read the data," the way Snowflake's references does: select is the only grant that opens a table up, and it's also what profiling needs, so there's one grant to make per schema, not two.
Stored procedures (pg_proc) and view definitions (pg_depend, pg_rewrite) are system catalogs Postgres exposes to any connected role once it has usage on the schema; no extra grant is needed for either.
Because select is the one privilege that opens both schema introspection and row data, granting reader read access on a table means it can read that table's data, not just its shape.
This grant lets Convalesce read rows as well as the shape of your tables. While it investigates a failure the agent may run small read-only queries to confirm a cause: capped, with personal columns masked, never stored, and sent to the AI model. You can switch that off for this connection on its Settings tab once it is connected, without changing the grant.
create role reader with login password '<password>';

grant connect on database shop to reader;

grant usage on schema public to reader;
grant select on all tables in schema public to reader;
grant select on all sequences in schema public to reader;
-- So tables and sequences created after this point are covered too:
alter default privileges in schema public grant select on tables to reader;
alter default privileges in schema public grant select on sequences to reader;

grant usage on schema sales to reader;
grant select on all tables in schema sales to reader;
grant select on all sequences in schema sales to reader;
-- So tables and sequences created after this point are covered too:
alter default privileges in schema sales grant select on tables to reader;
alter default privileges in schema sales grant select on sequences to reader;
Step 6 of 10: Query-based lineage, if you want it (optional)
Optional: lineage from pg_stat_statements.
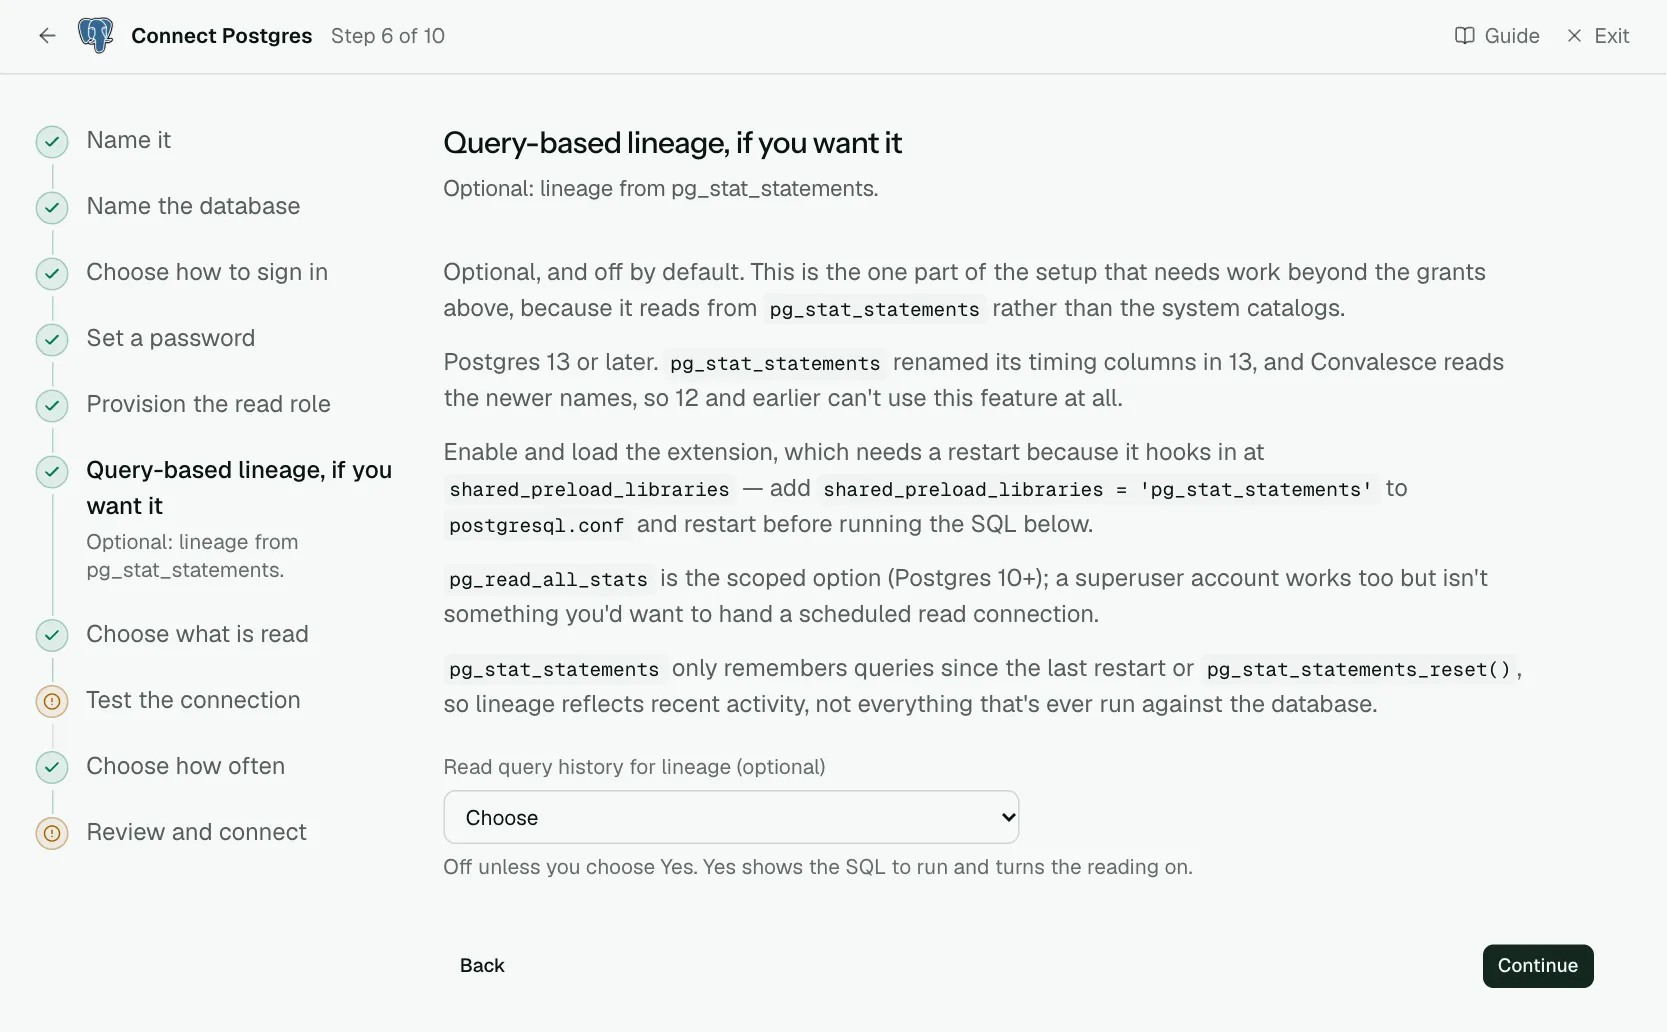
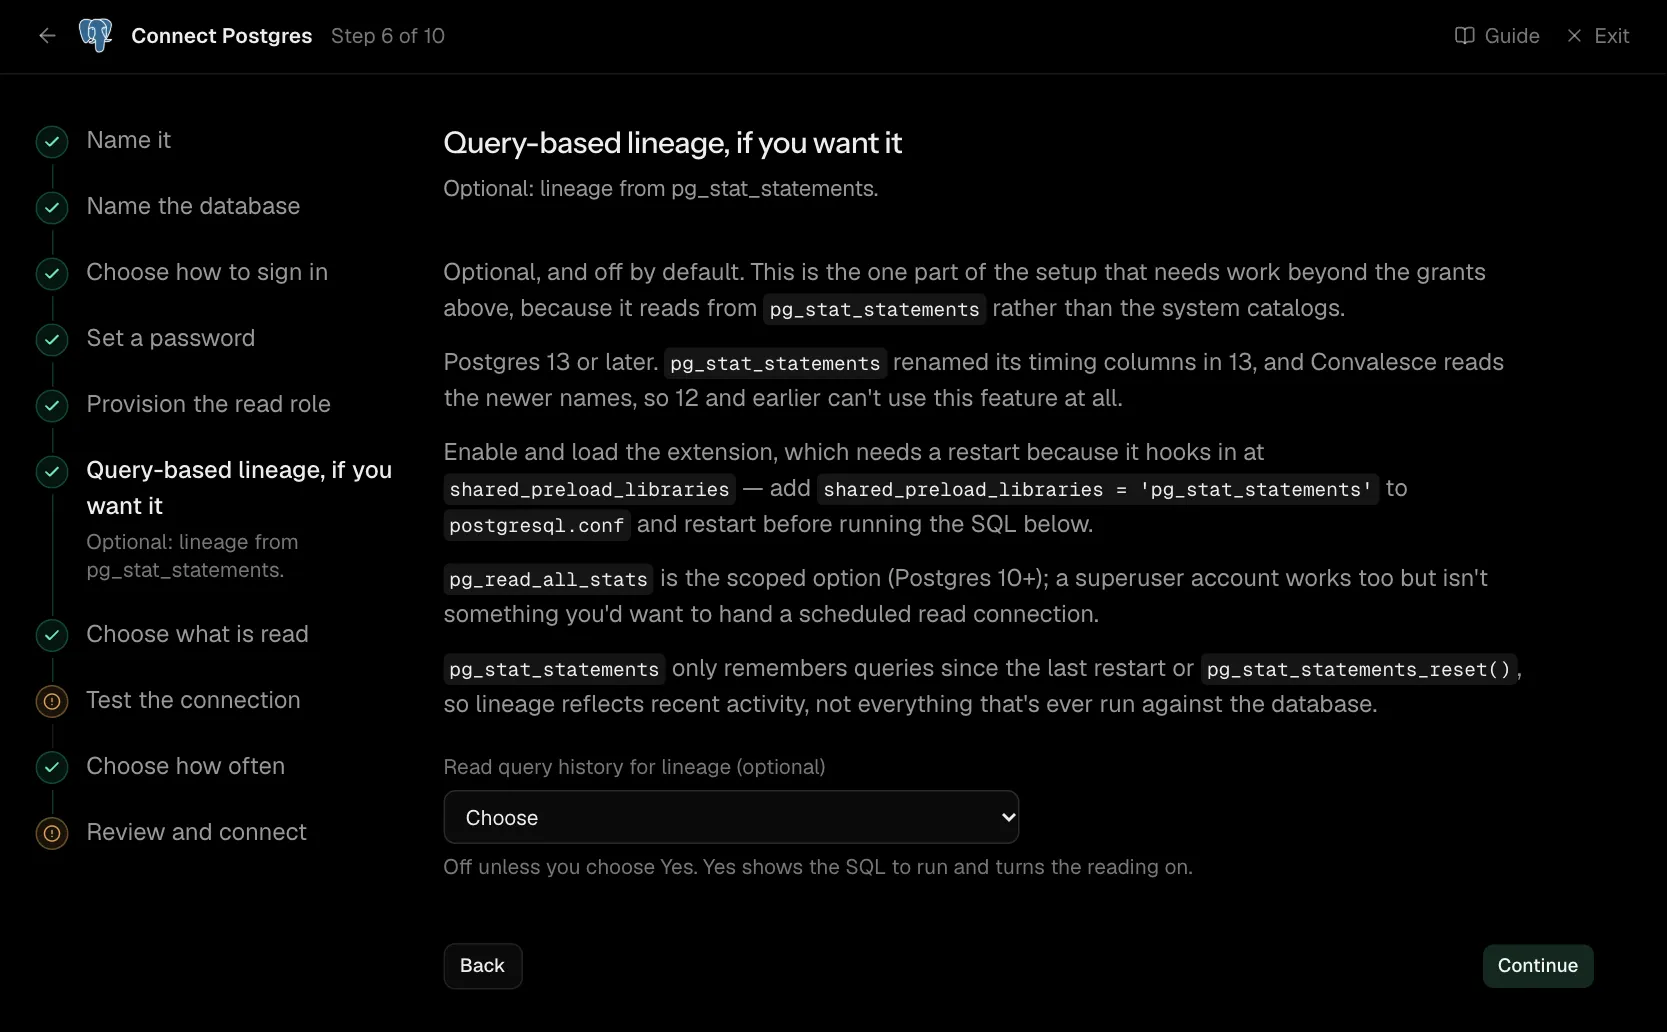
Optional, and off by default. This is the one part of the setup that needs work beyond the grants above, because it reads from pg_stat_statements rather than the system catalogs.
Postgres 13 or later. pg_stat_statements renamed its timing columns in 13, and Convalesce reads the newer names, so 12 and earlier can't use this feature at all.
Enable and load the extension, which needs a restart because it hooks in at shared_preload_libraries — add shared_preload_libraries = 'pg_stat_statements' to postgresql.conf and restart before running the SQL below.
pg_read_all_stats is the scoped option (Postgres 10+); a superuser account works too but isn't something you'd want to hand a scheduled read connection.
pg_stat_statements only remembers queries since the last restart or pg_stat_statements_reset(), so lineage reflects recent activity, not everything that's ever run against the database.
| What it asks for | Needed | What to enter |
|---|---|---|
| Read query history for lineage | Optional | Off unless you choose Yes. Yes shows the SQL to run and turns the reading on. Choose one of: Yes, No. |
| Count how much each table is read | Optional | Follows the answer above. How many people and how many queries, as counts, from the same query history: it needs that reading turned on. Choose one of: Yes, No. |
-- After restarting, once per database you want to track:
create extension if not exists pg_stat_statements;

grant pg_read_all_stats to reader;
Step 7 of 10: Choose what is read (optional)
Optional: narrow it to some tables.
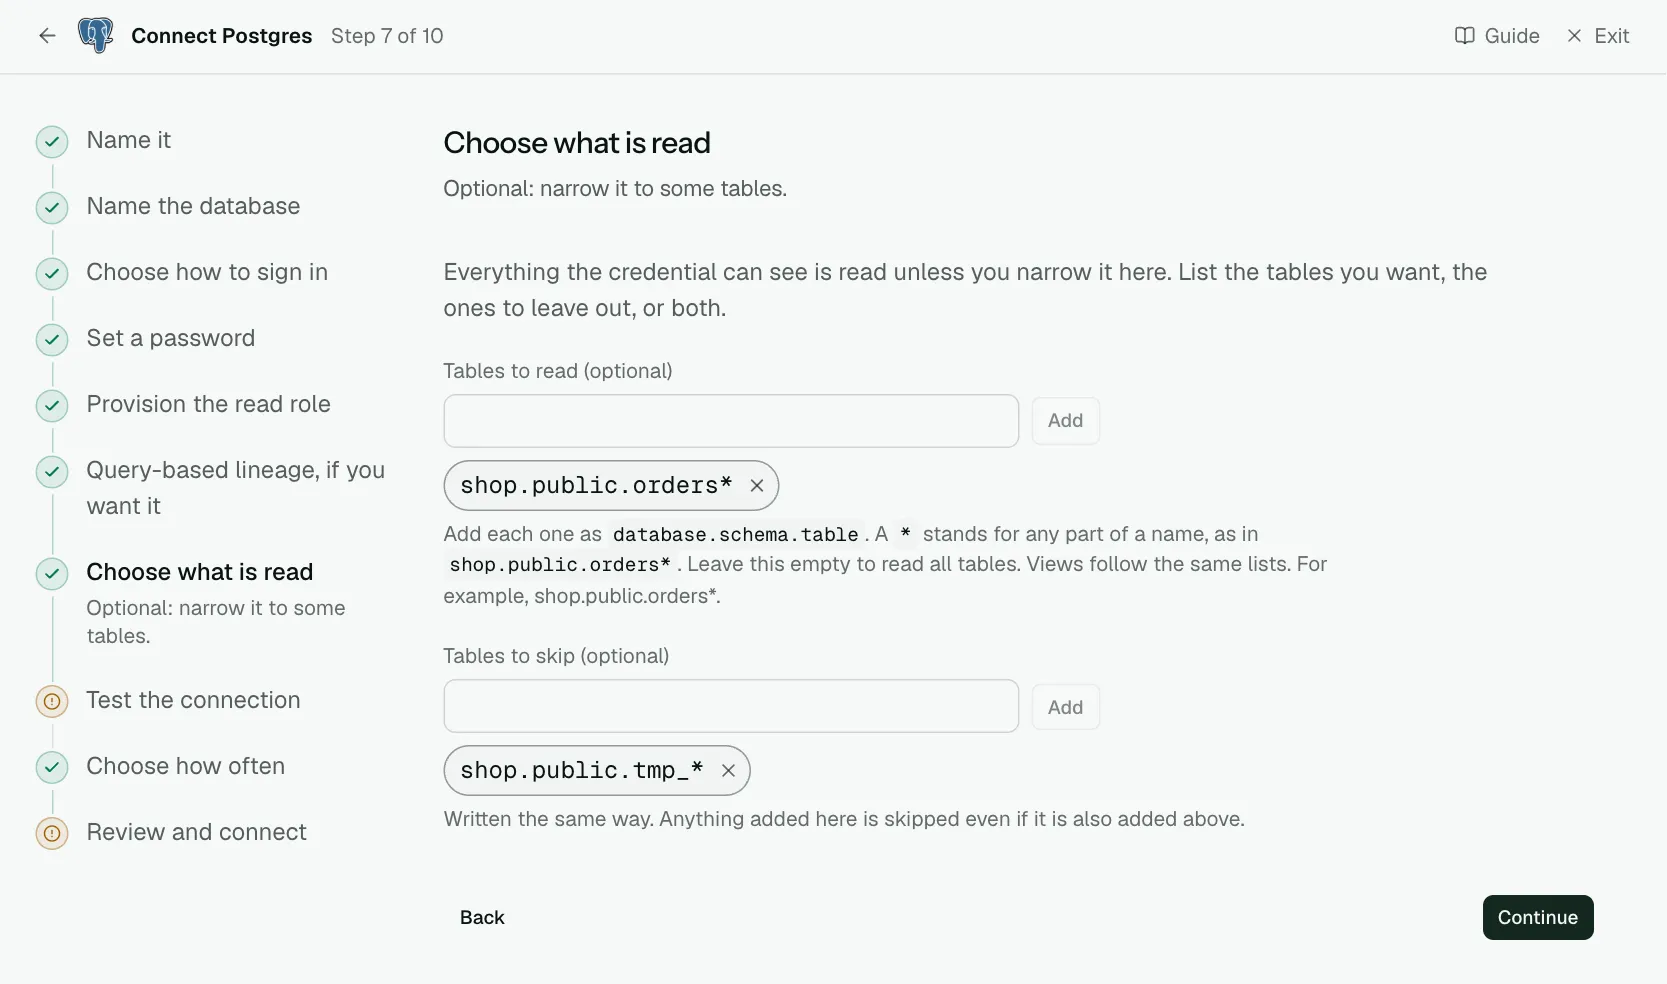
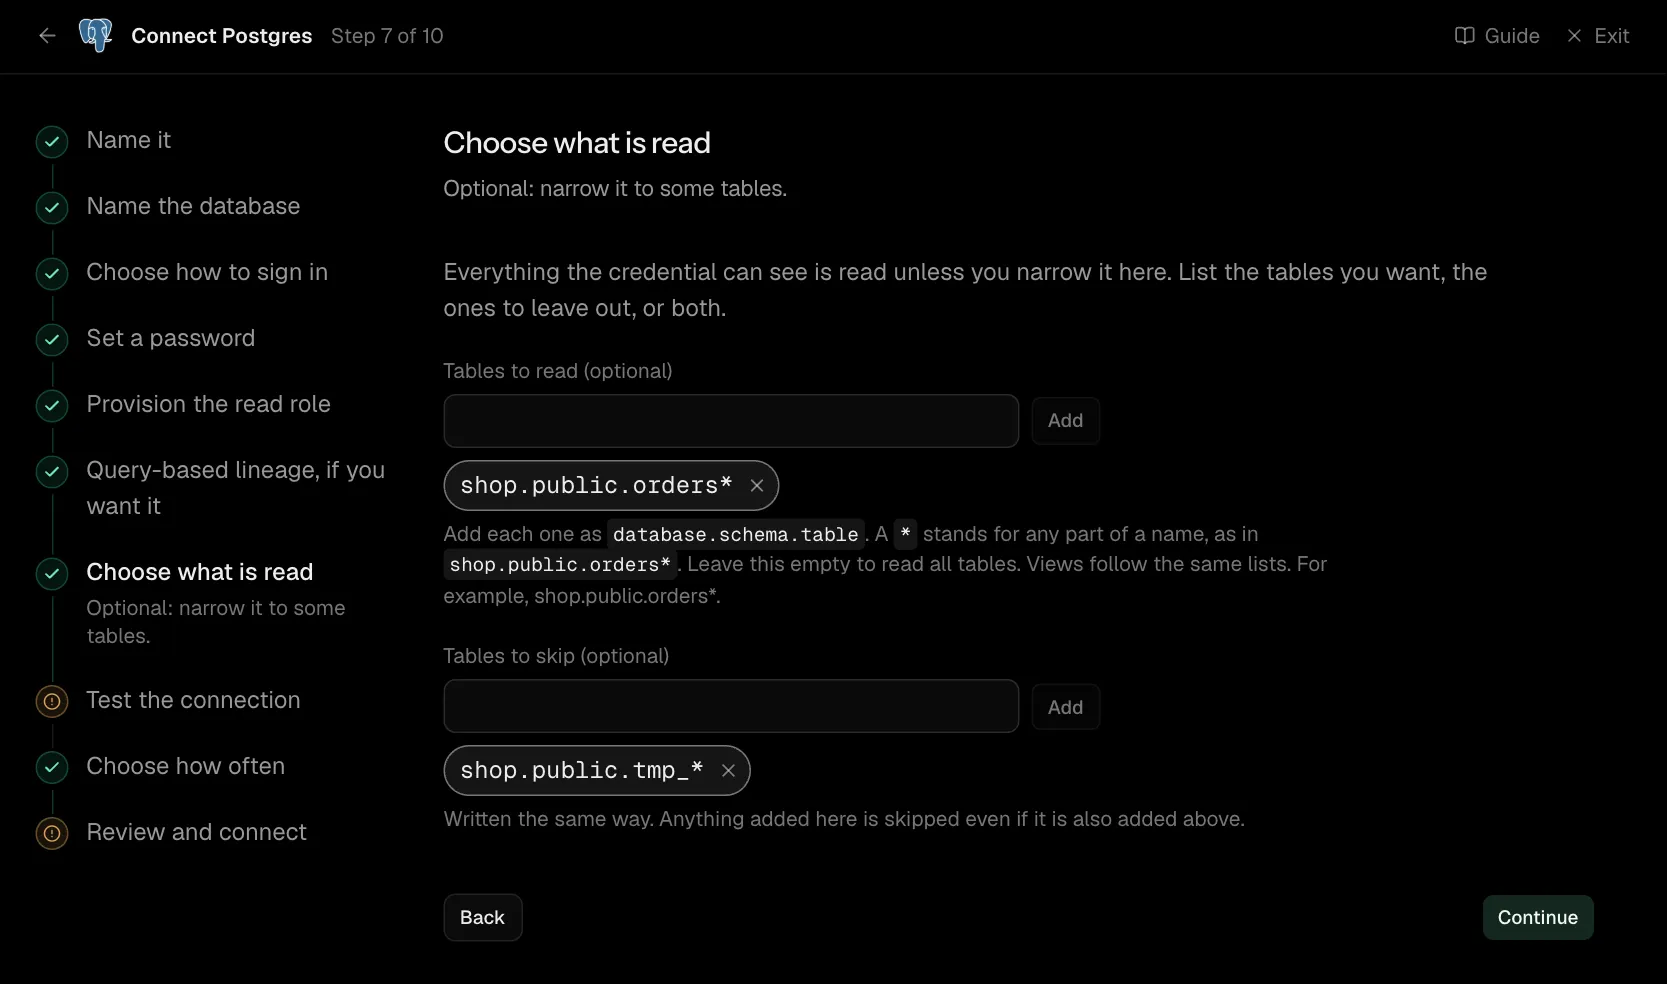
Everything the credential can see is read unless you narrow it here. List the tables you want, the ones to leave out, or both.
| What it asks for | Needed | What to enter |
|---|---|---|
| Tables to read | Optional | Add each one as database.schema.table. A * stands for any part of a name, as in shop.public.orders*. Leave this empty to read all tables. Views follow the same lists. For example, shop.public.orders*. |
| Tables to skip | Optional | Written the same way. Anything added here is skipped even if it is also added above. |
Step 8 of 10: Test the connection
Check Convalesce can reach it with what you entered.
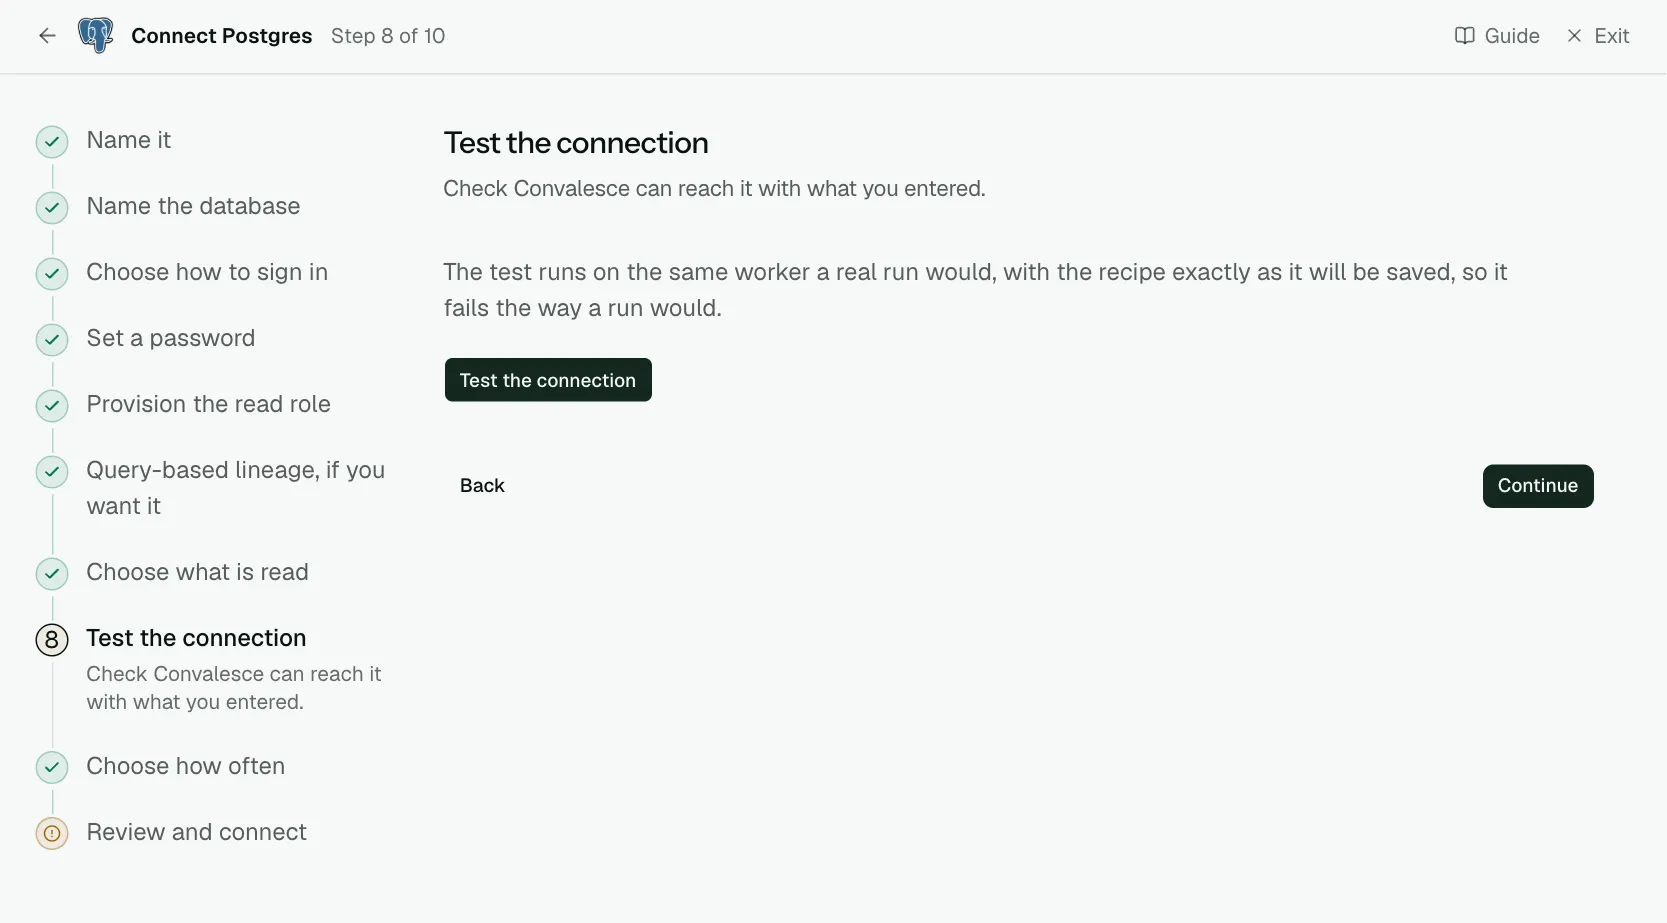
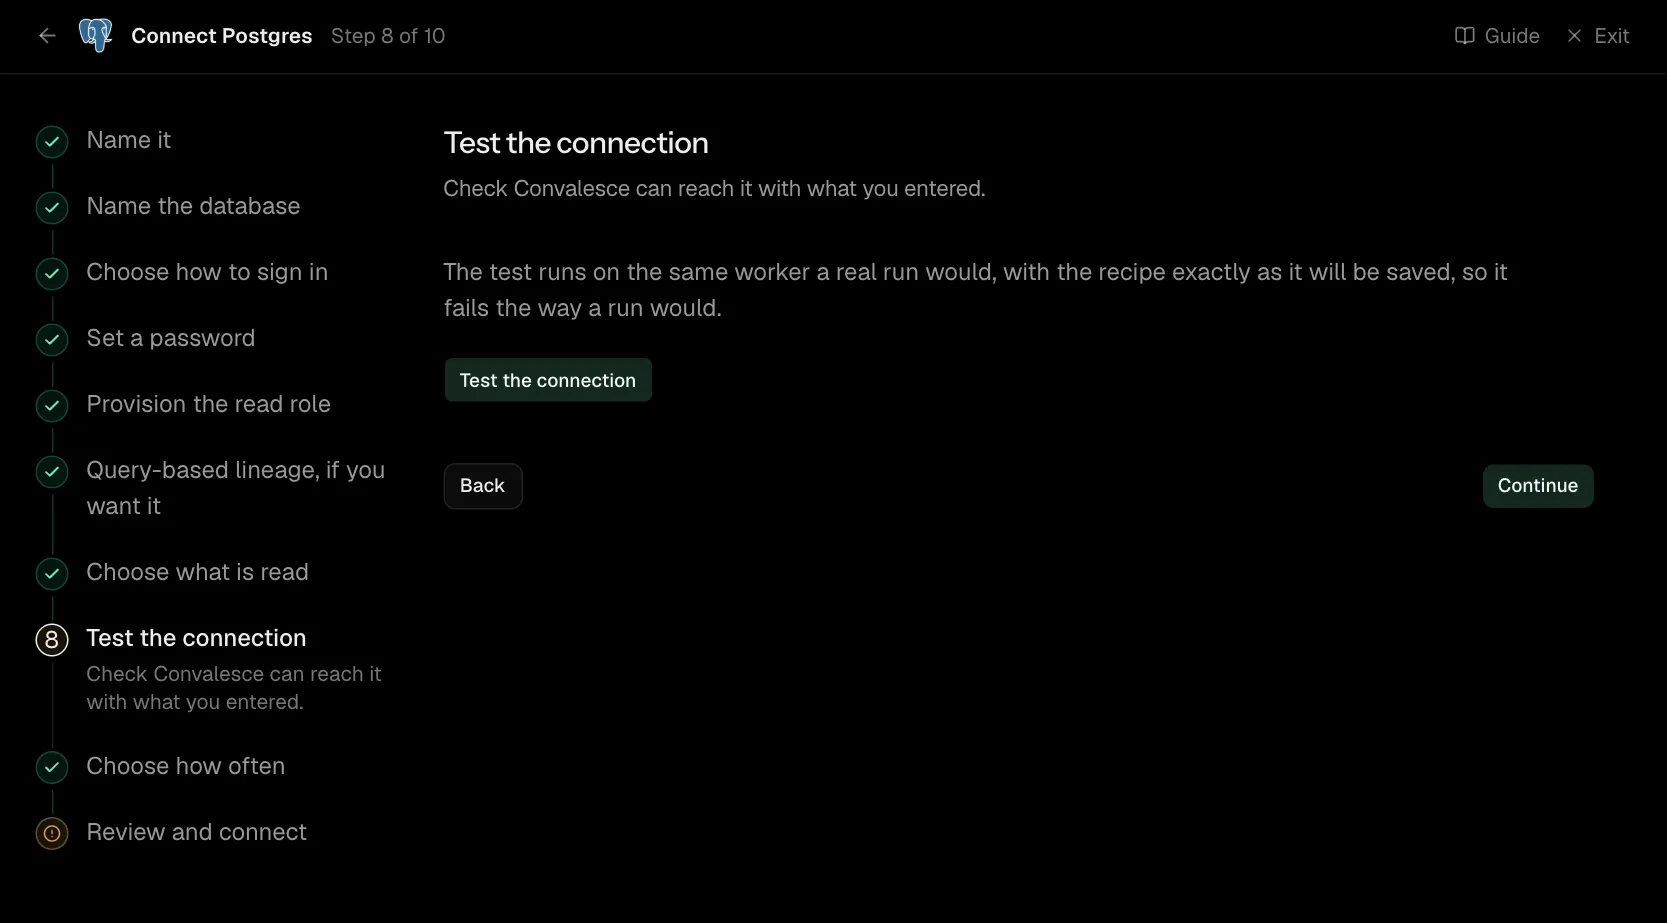
The test runs on the same worker a real run would, with the recipe exactly as it will be saved, so it fails the way a run would.
Step 9 of 10: Choose how often
How often Convalesce reads it.
Step 10 of 10: Review and connect
Check everything, then save the connection.
Network
Convalesce is a hosted service: it connects to the database over the internet from 34.66.85.47. Give the database a public address, and allow ours wherever inbound connections are limited: the instance's security group and its public access setting on RDS, an authorised network on Cloud SQL, a firewall rule on Azure, or pg_hba.conf on your own server.
Settings
What the connect screen asks for
| Input | On the step | Needed |
|---|---|---|
| Name | Name it | Yes |
| Deployment | Name it | Yes |
| Instance name | Name it | Optional |
| Host and port | Name the database | Yes |
| Database | Name the database | Optional |
| What to read | Name the database | Optional |
| Schemas to read | Name the database | Yes |
| Username | Name the database | Yes |
| Password for the reading role | Set a password | Yes |
| Read query history for lineage | Query-based lineage, if you want it | Optional |
| Count how much each table is read | Query-based lineage, if you want it | Optional |
| Tables to read | Choose what is read | Optional |
| Tables to skip | Choose what is read | Optional |
| AWS region | Add an AWS access key | Optional |
| Access key ID | Add an AWS access key | Yes |
| AWS secret access key | Add an AWS access key | Yes |
| AWS session token | Add an AWS access key | Optional |
Set for you
These are the same on every connection. The connect screen does not ask for them.
| What it means | Setting |
|---|---|
| Tables are read. | include_tables: true |
| Views are read. | include_views: true |
| The connection is always encrypted. | options.connect_args.sslmode: require |
| Row counts and sizes are read for each table. | profiling.enabled: true |
| Only whole-table figures are read, never values from individual columns. | profiling.profile_table_level_only: true |
| Something that is no longer there is marked as removed. | stateful_ingestion.enabled: true |
Troubleshooting
- The test says it could not reach it. The address has to be public and has to allow
34.66.85.47. See Network access. - The test says permission denied. Run the script from the Provision the read role step again as a user who can grant, once in each database you are reading.
- A new schema is missing. Add it to Schemas to read and run the new script, or choose Every schema in the database.
- The connection is refused as unencrypted. Convalesce always connects over TLS, so the server has to have it switched on. Managed Postgres services do by default.