Tableau
Connect Tableau step by step: the role the reading user needs, both ways to sign in, and what is read.
Connect it
- Name it: what to call this connection, and the deployment it belongs to.
- Provision the read connection: the site role the reading user needs.
- Name your server and site: your server address and site.
- Choose how to sign in: username and password, or an access token.
- Sign in as the user: the reading user's username and password.
- Choose what is read: optional: narrow it to some projects.
- Test the connection: check Convalesce can reach it with what you entered.
- Choose how often: how often Convalesce reads it.
- Review and connect: check everything, then save the connection.
Convalesce reads your Tableau site as one user that you create for it, on Tableau Cloud or on a Tableau Server with a public address.
That user signs in with a username and password or with a personal access token.
Convalesce is a hosted service, so it connects to your tool over the internet. Nothing is installed on your side.
Before you start
Have these ready and the rest takes a few minutes:
- Your Tableau address, and your site's content URL.
- A Tableau user with the Site Administrator Explorer role, for Convalesce to sign in as.
- That user's password, or a personal access token created while signed in as them.
Connect it
In Convalesce, open Integrations, choose Tableau, and follow the steps. Each one is shown below as it looks on screen, with what it asks for and anything to copy and run.
The steps depend on one choice: Choose how to sign in. Pick yours here, and every step, picture and script below follows it.
Convalesce authenticates with that username and password directly.
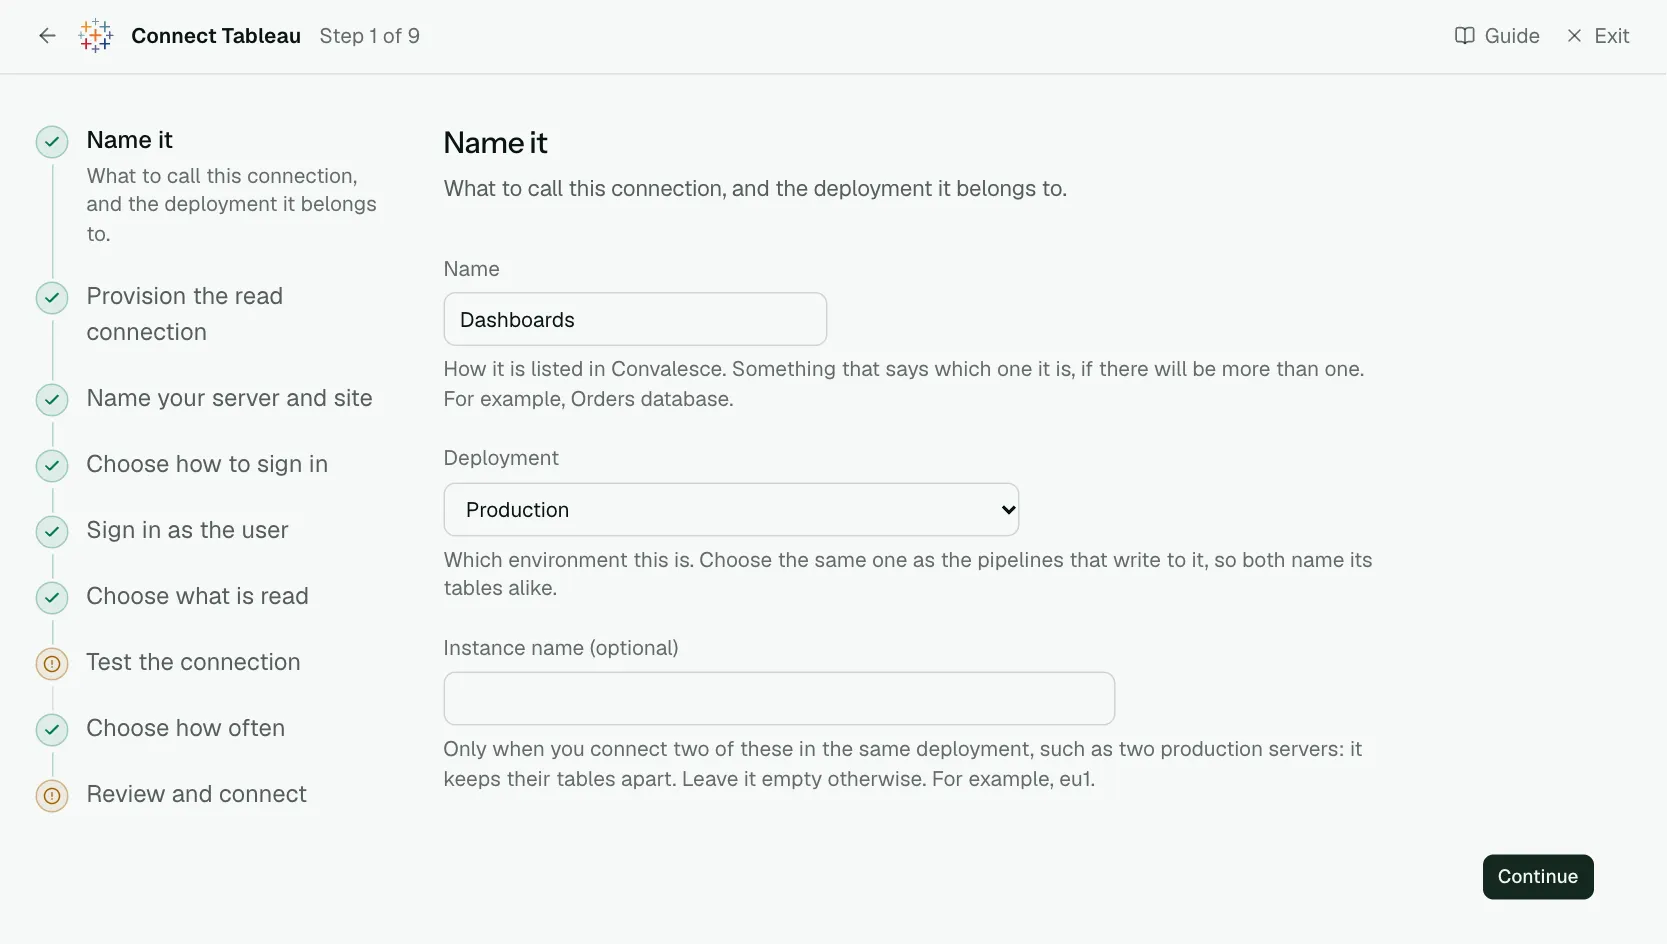
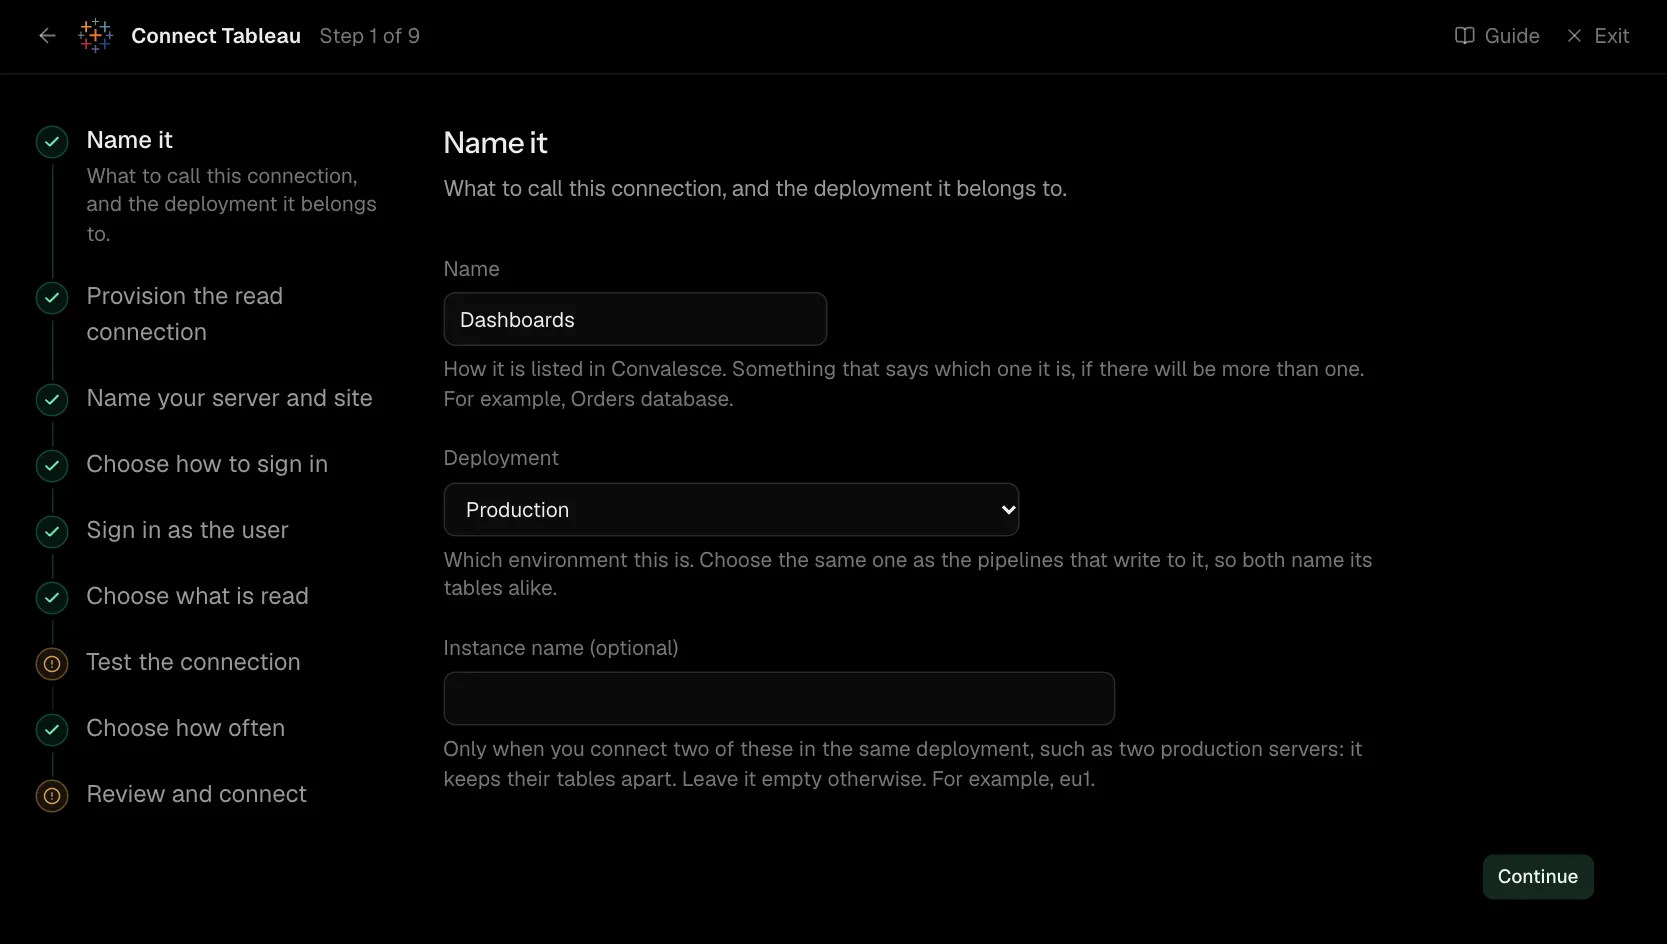
Step 1 of 9: Name it
What to call this connection, and the deployment it belongs to.
| What it asks for | Needed | What to enter |
|---|---|---|
| Name | Yes | How it is listed in Convalesce. Something that says which one it is, if there will be more than one. For example, Orders database. |
| Deployment | Yes | Which environment this is. Choose the same one as the pipelines that write to it, so both name its tables alike. Choose one of: Production, Staging, Development, Test, Quality assurance, User acceptance, Pre-production, Sandbox. |
| Instance name | Optional | Only when you connect two of these in the same deployment, such as two production servers: it keeps their tables apart. Leave it empty otherwise. For example, eu1. |
Step 2 of 9: Provision the read connection
The site role the reading user needs.
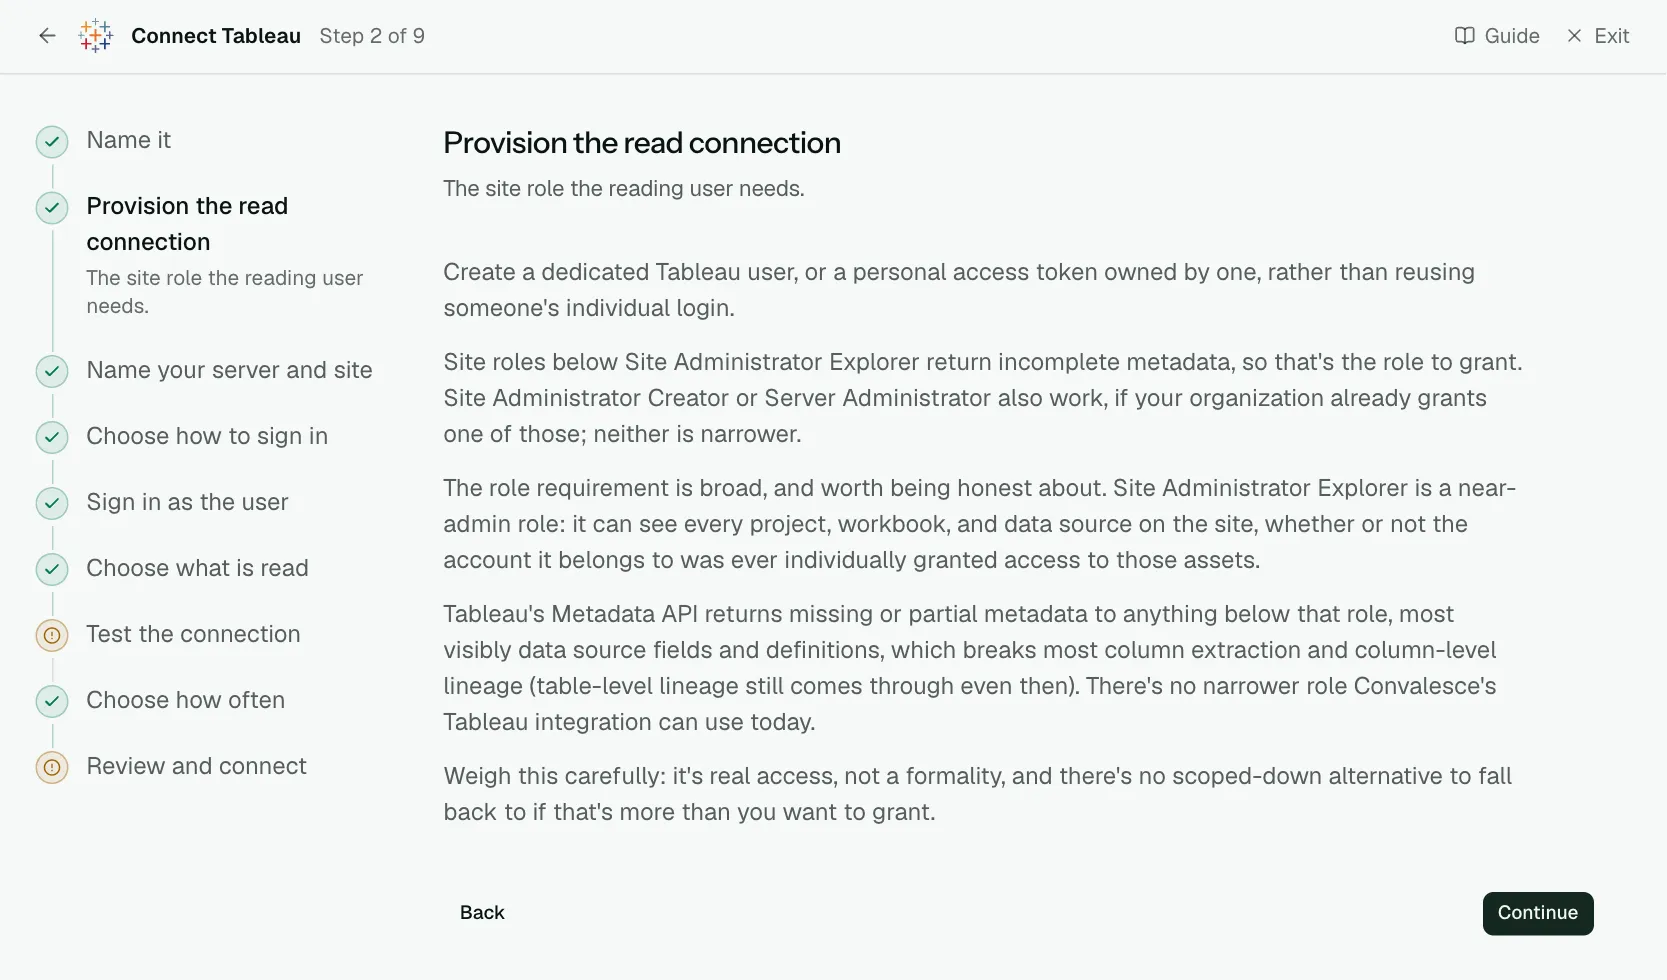
Create a dedicated Tableau user, or a personal access token owned by one, rather than reusing someone's individual login.
Site roles below Site Administrator Explorer return incomplete metadata, so that's the role to grant. Site Administrator Creator or Server Administrator also work, if your organization already grants one of those; neither is narrower.
The role requirement is broad, and worth being honest about. Site Administrator Explorer is a near-admin role: it can see every project, workbook, and data source on the site, whether or not the account it belongs to was ever individually granted access to those assets.
Tableau's Metadata API returns missing or partial metadata to anything below that role, most visibly data source fields and definitions, which breaks most column extraction and column-level lineage (table-level lineage still comes through even then). There's no narrower role Convalesce's Tableau integration can use today.
Weigh this carefully: it's real access, not a formality, and there's no scoped-down alternative to fall back to if that's more than you want to grant.
Step 3 of 9: Name your server and site
Your server address and site.
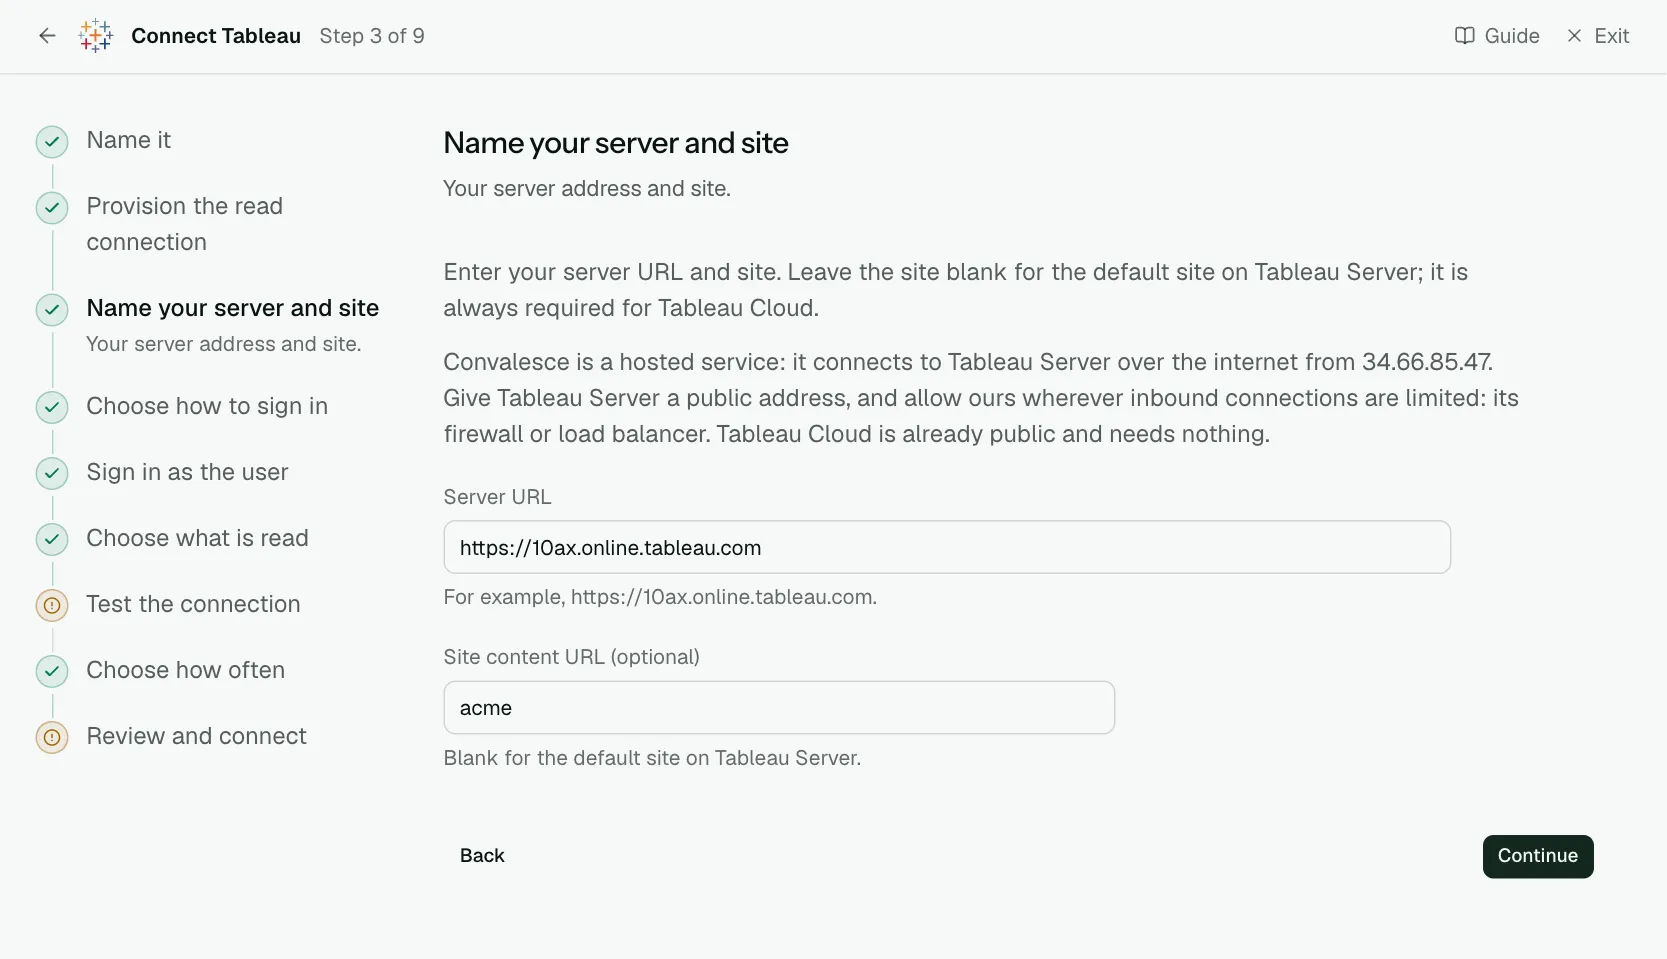
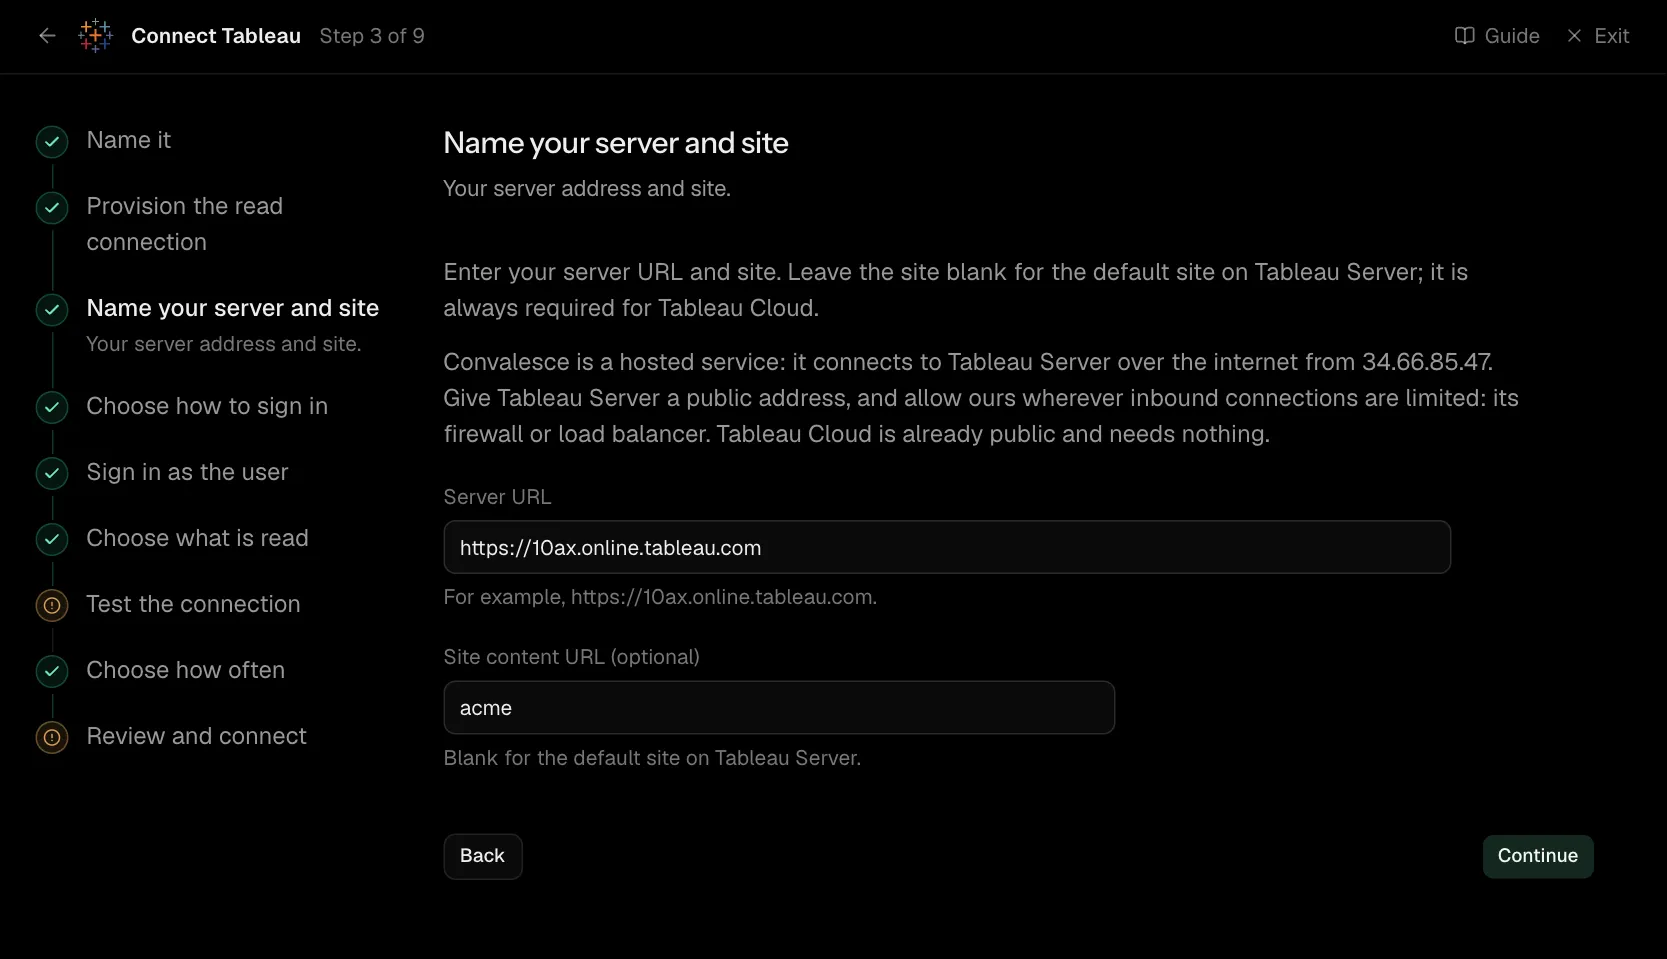
Enter your server URL and site. Leave the site blank for the default site on Tableau Server; it is always required for Tableau Cloud.
Convalesce is a hosted service: it connects to Tableau Server over the internet from 34.66.85.47. Give Tableau Server a public address, and allow ours wherever inbound connections are limited: its firewall or load balancer. Tableau Cloud is already public and needs nothing.
| What it asks for | Needed | What to enter |
|---|---|---|
| Server URL | Yes | For example, https://10ax.online.tableau.com. |
| Site content URL | Optional | Blank for the default site on Tableau Server. |
Step 4 of 9: Choose how to sign in
Username and password, or an access token.
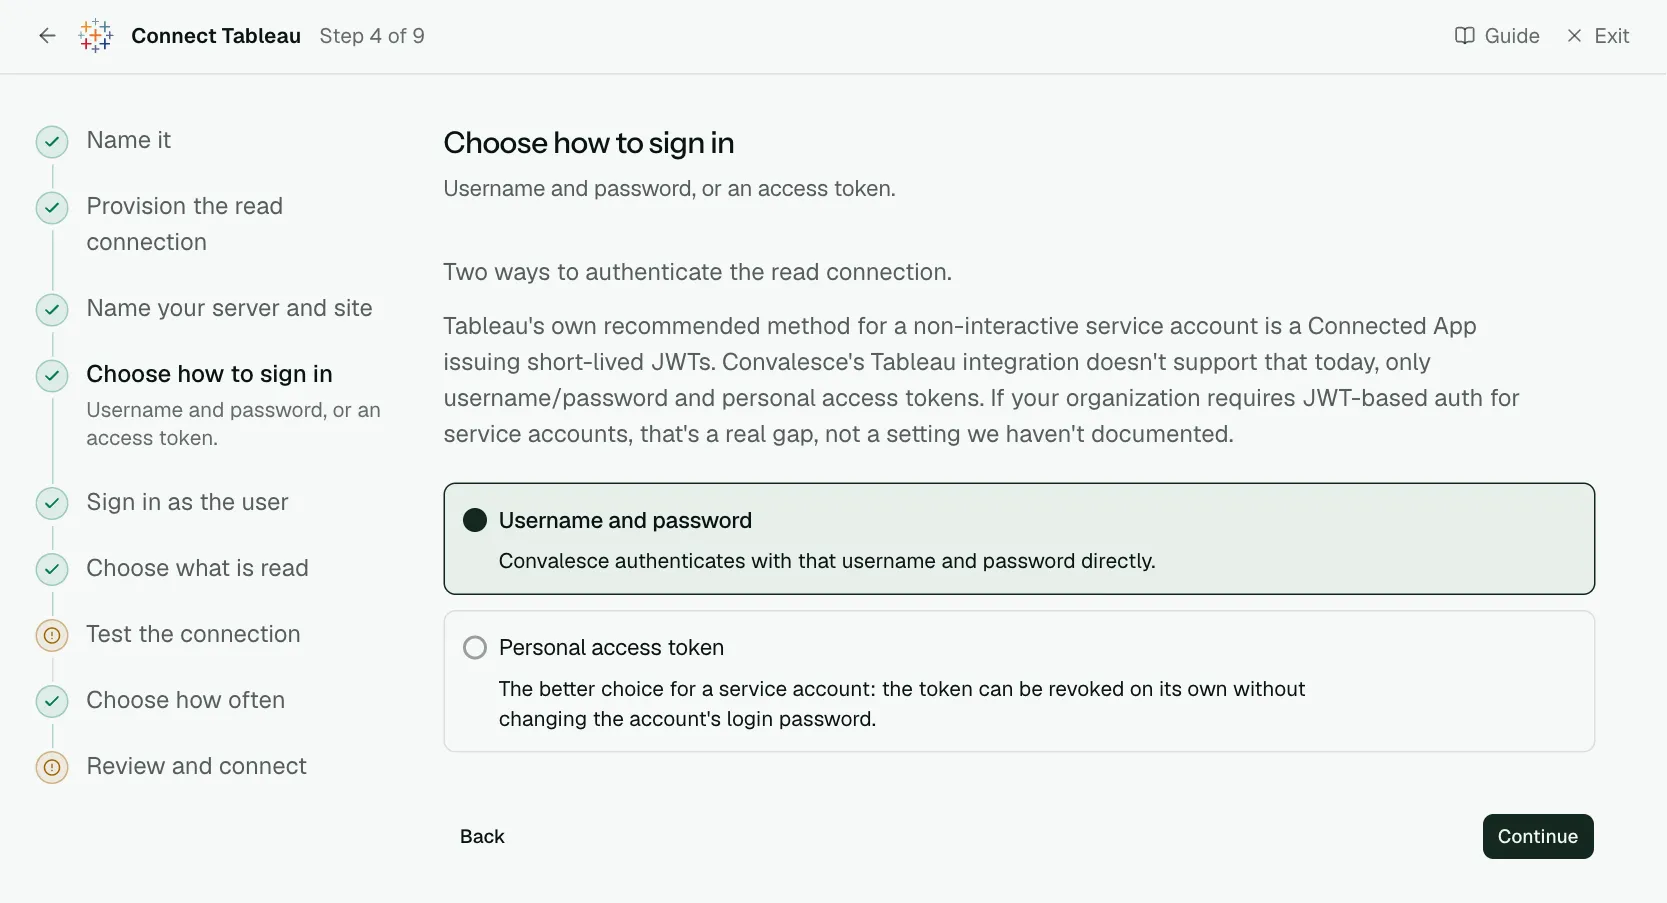
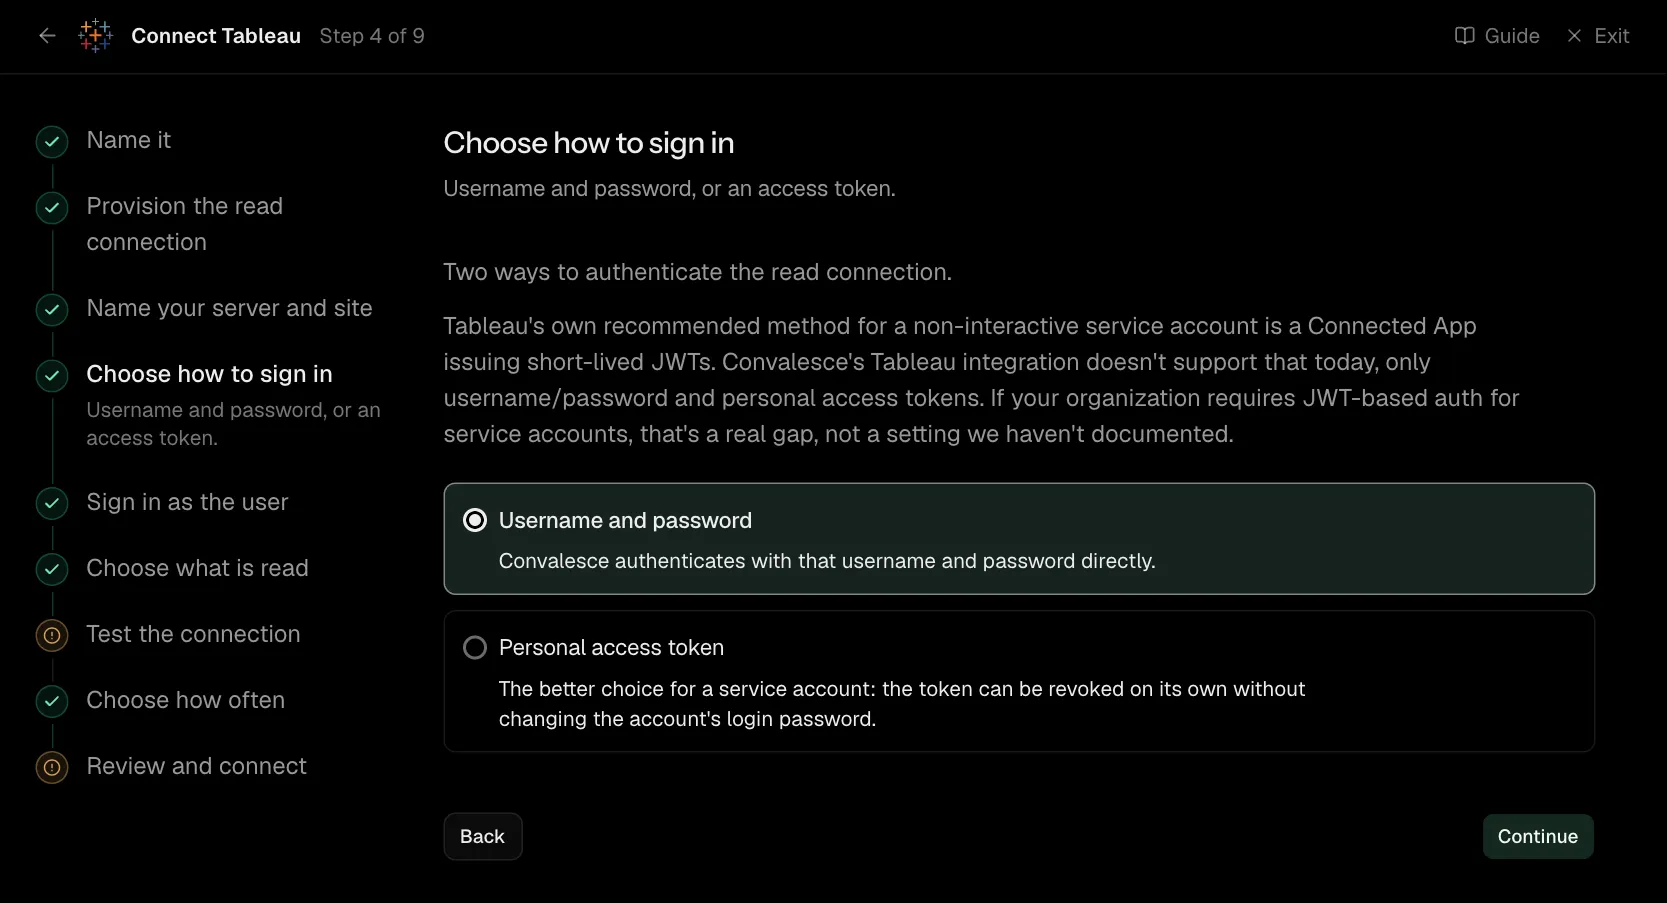
Two ways to authenticate the read connection.
Tableau's own recommended method for a non-interactive service account is a Connected App issuing short-lived JWTs. Convalesce's Tableau integration doesn't support that today, only username/password and personal access tokens. If your organization requires JWT-based auth for service accounts, that's a real gap, not a setting we haven't documented.
Step 5 of 9: Sign in as the user
The reading user's username and password.
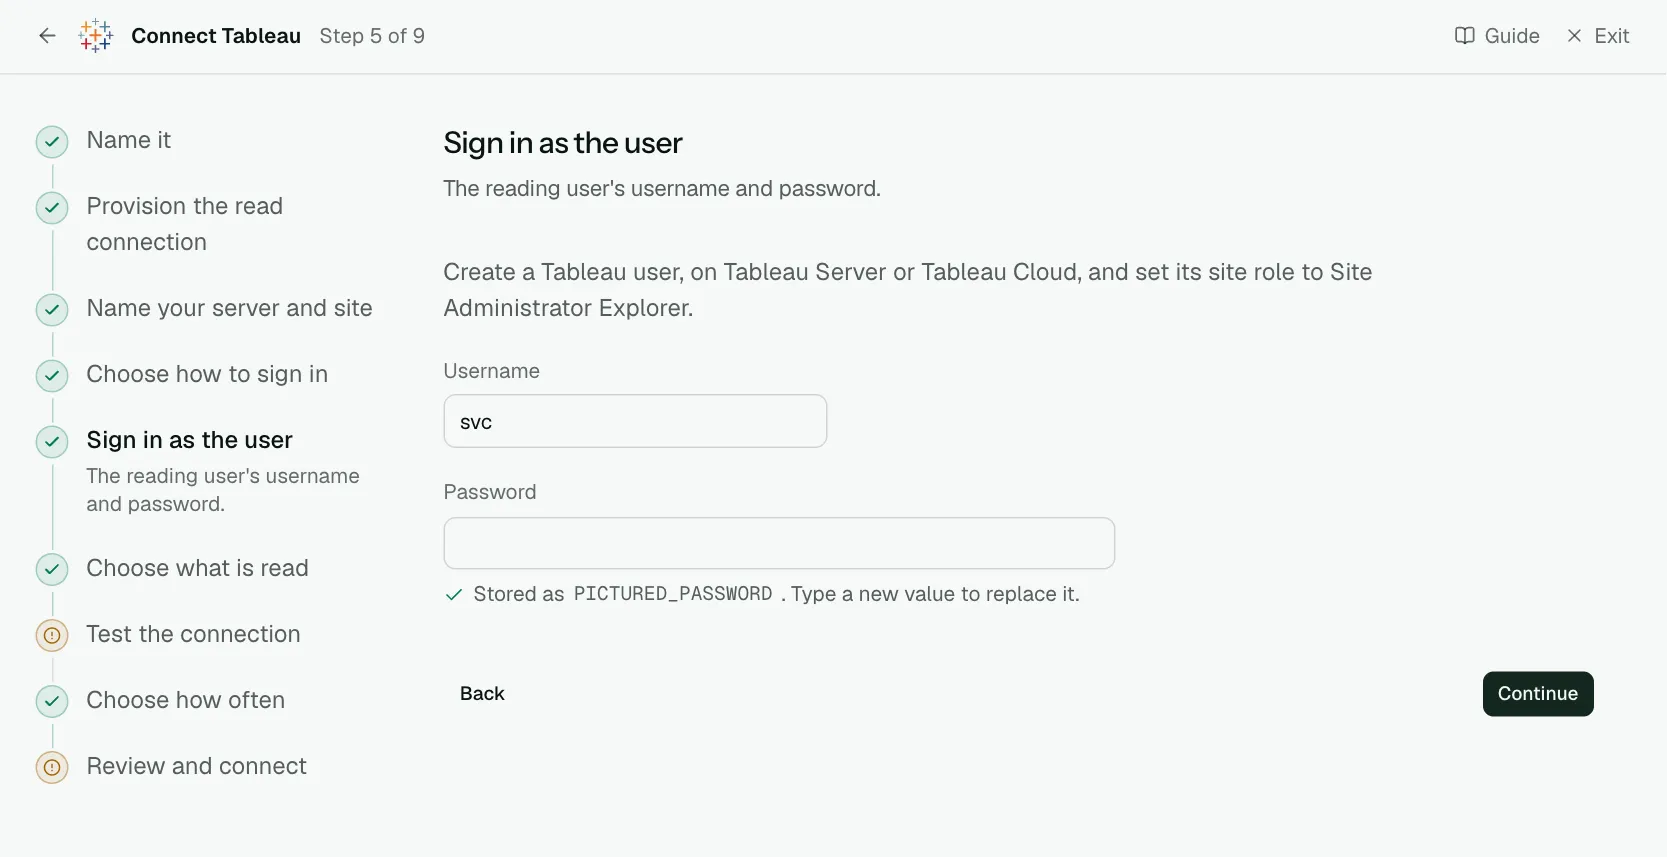
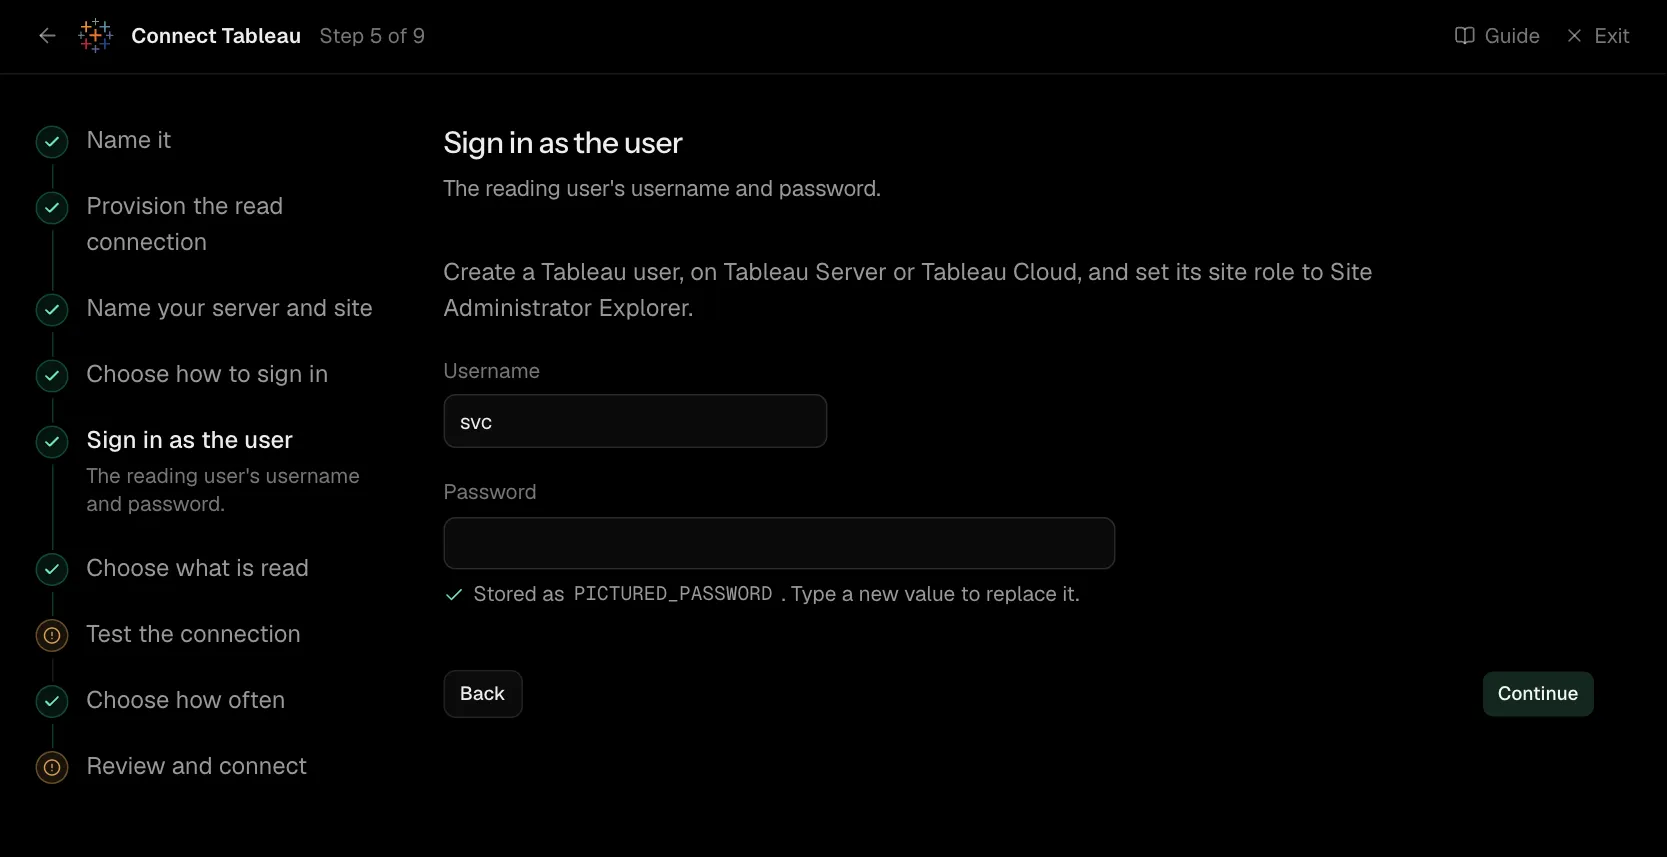
Create a Tableau user, on Tableau Server or Tableau Cloud, and set its site role to Site Administrator Explorer.
| What it asks for | Needed | What to enter |
|---|---|---|
| Username | Yes | |
| Password | Yes | Stored encrypted the moment you enter it, and shown to no one afterwards. |
Step 6 of 9: Choose what is read (optional)
Optional: narrow it to some projects.
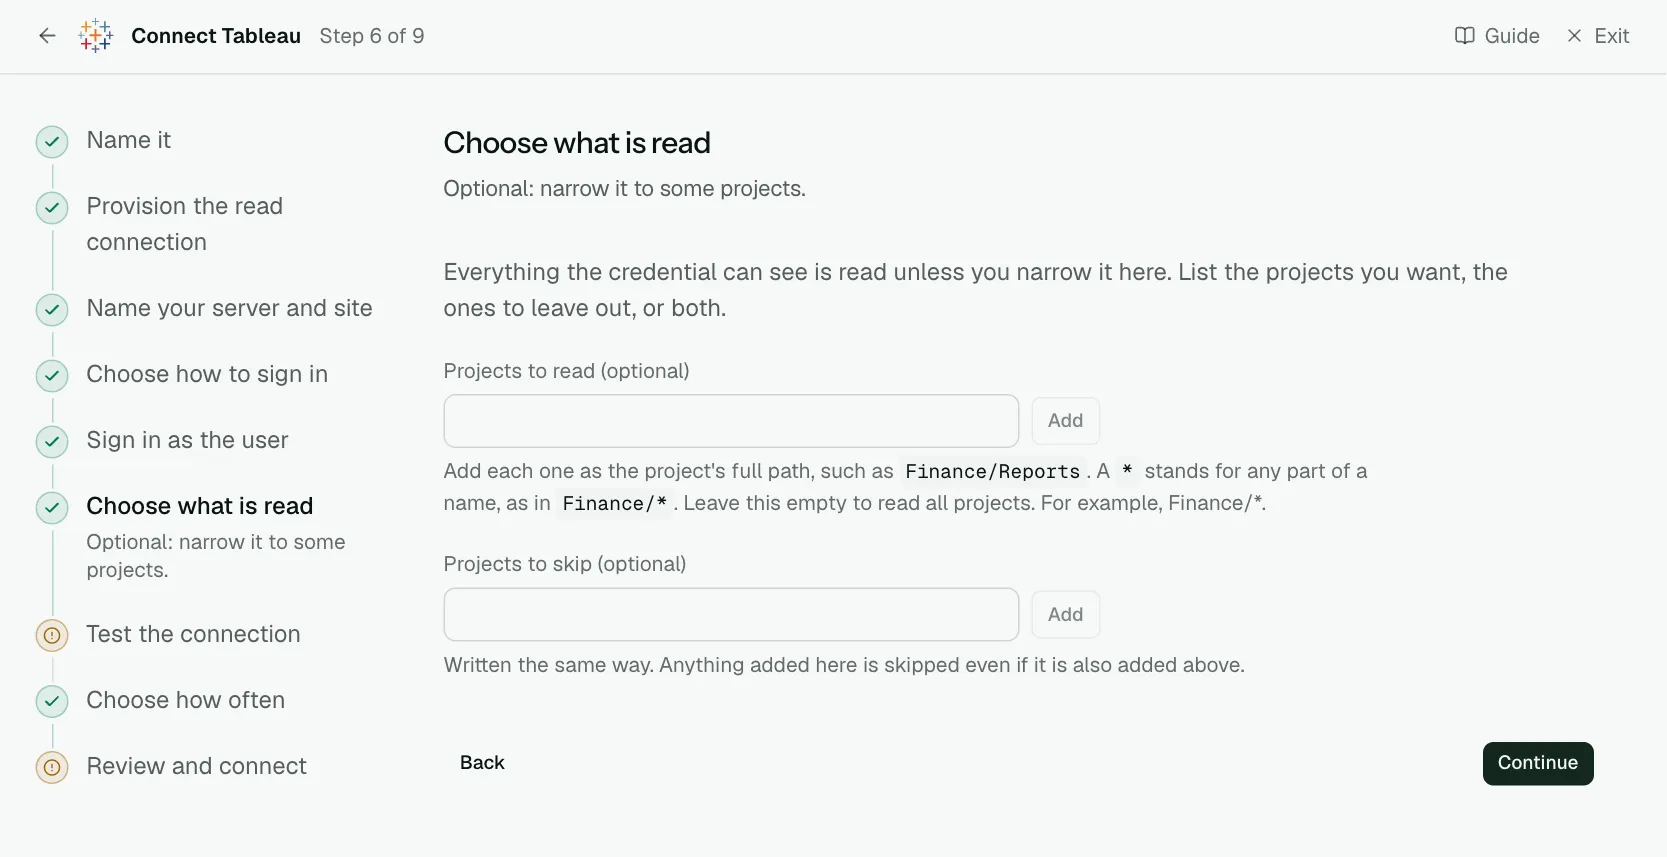
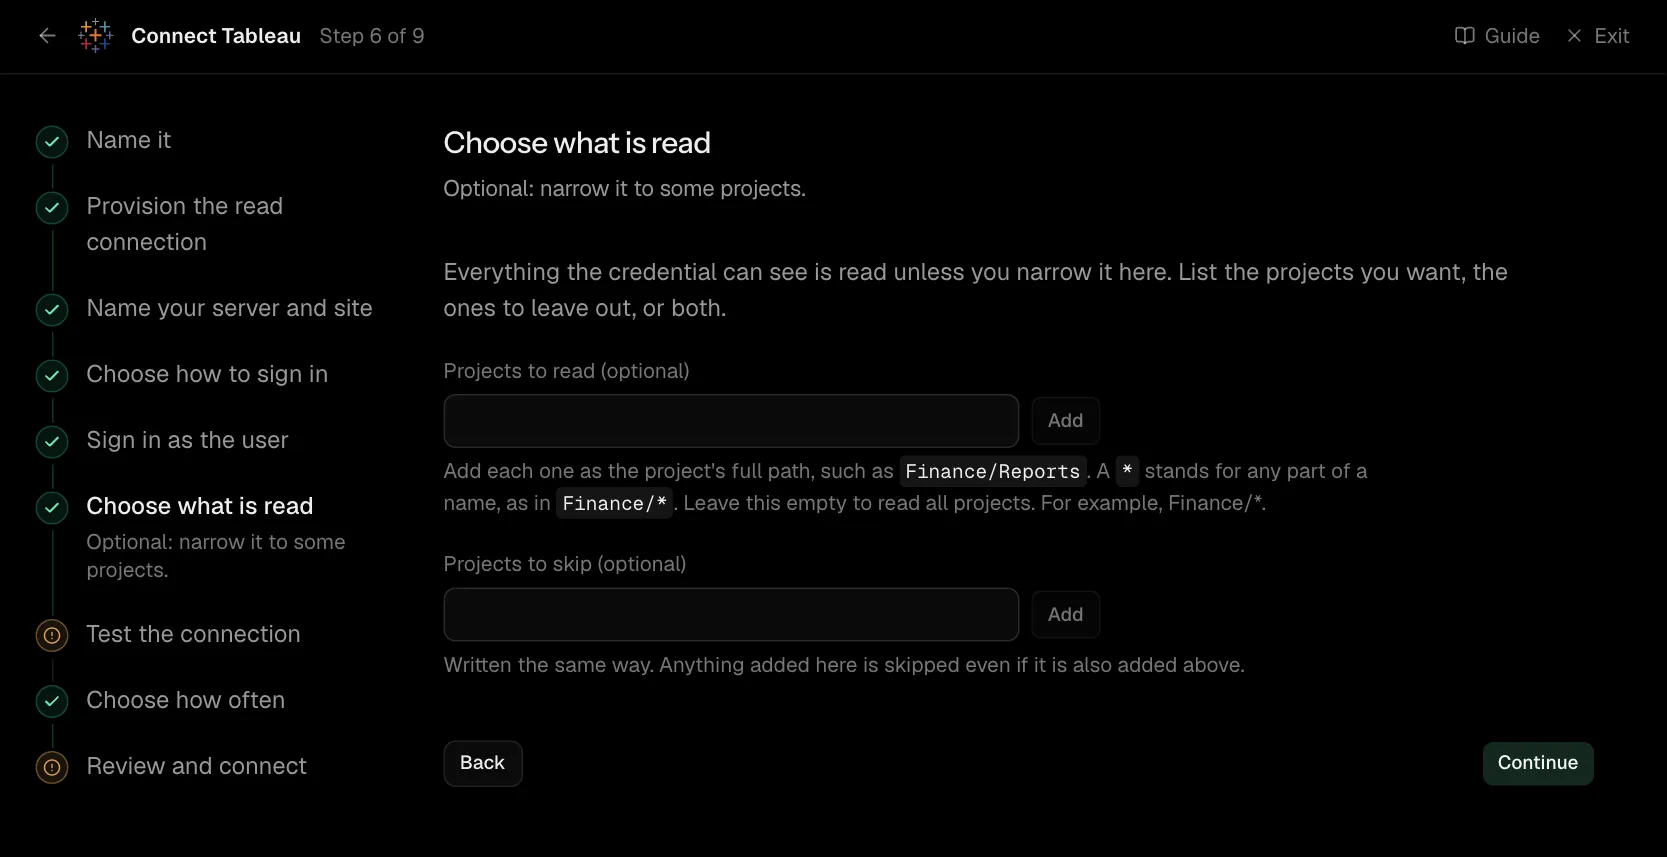
Everything the credential can see is read unless you narrow it here. List the projects you want, the ones to leave out, or both.
| What it asks for | Needed | What to enter |
|---|---|---|
| Projects to read | Optional | Add each one as the project's full path, such as Finance/Reports. A * stands for any part of a name, as in Finance/*. Leave this empty to read all projects. For example, Finance/*. |
| Projects to skip | Optional | Written the same way. Anything added here is skipped even if it is also added above. |
Step 7 of 9: Test the connection
Check Convalesce can reach it with what you entered.
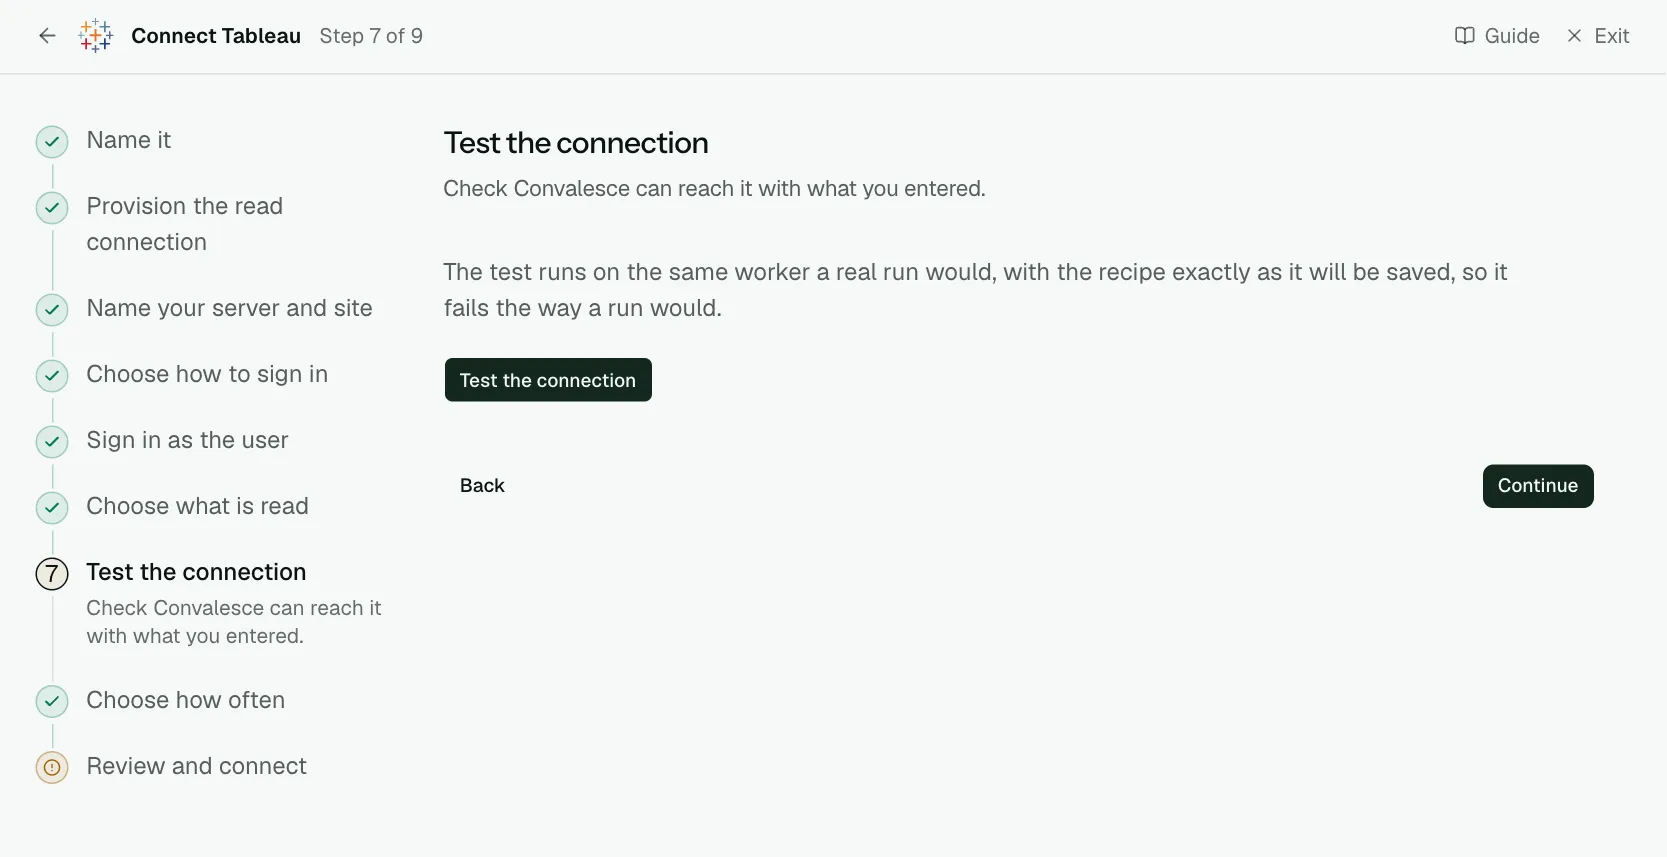
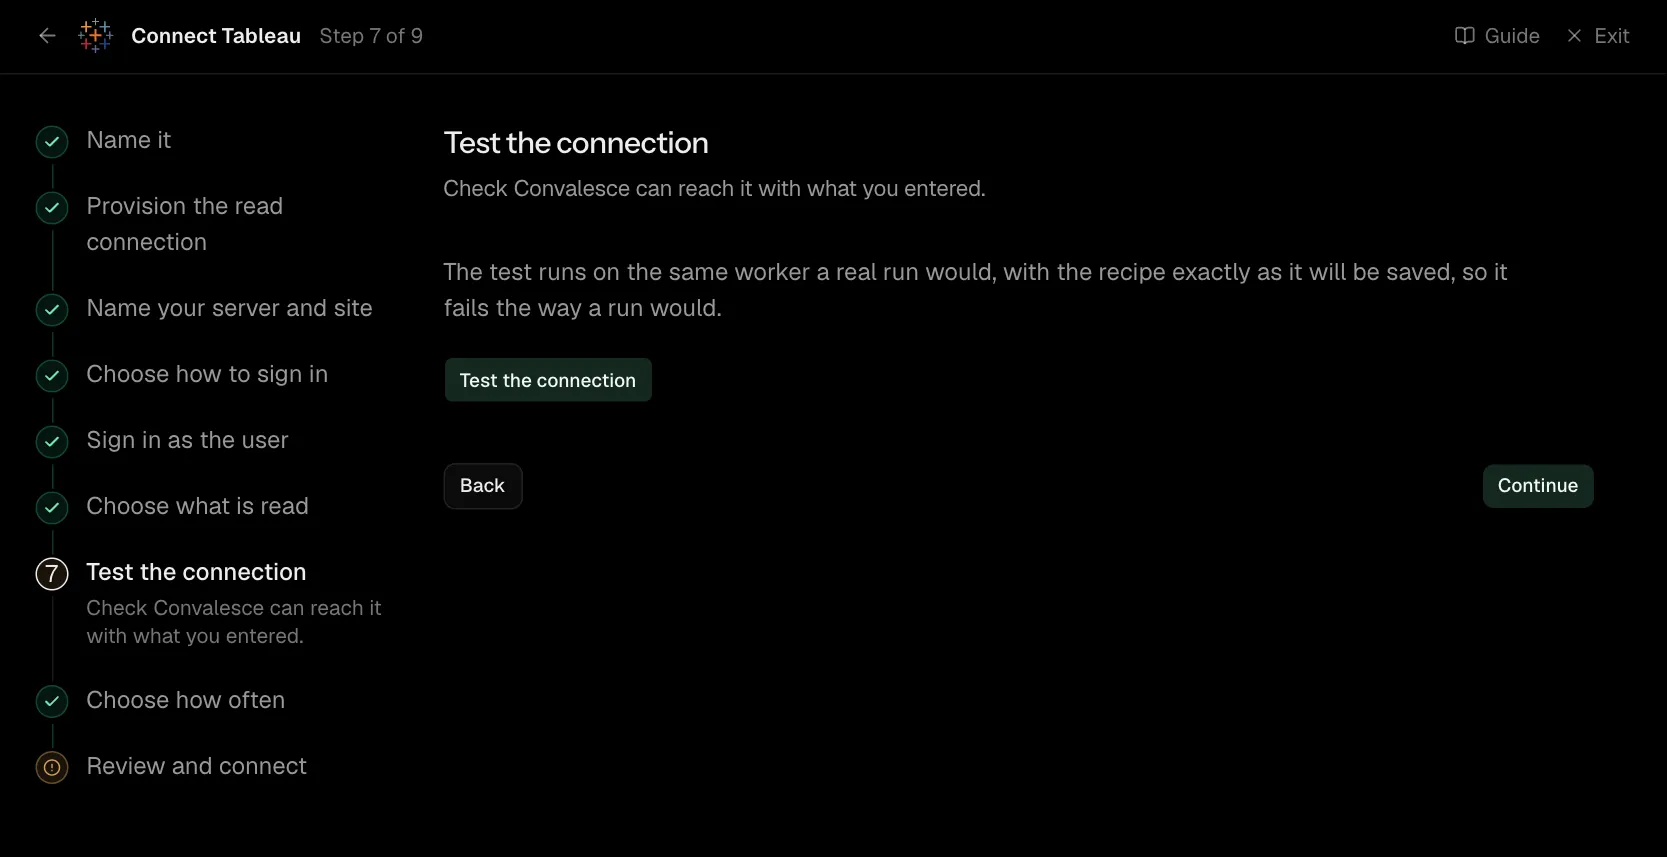
The test runs on the same worker a real run would, with the recipe exactly as it will be saved, so it fails the way a run would.
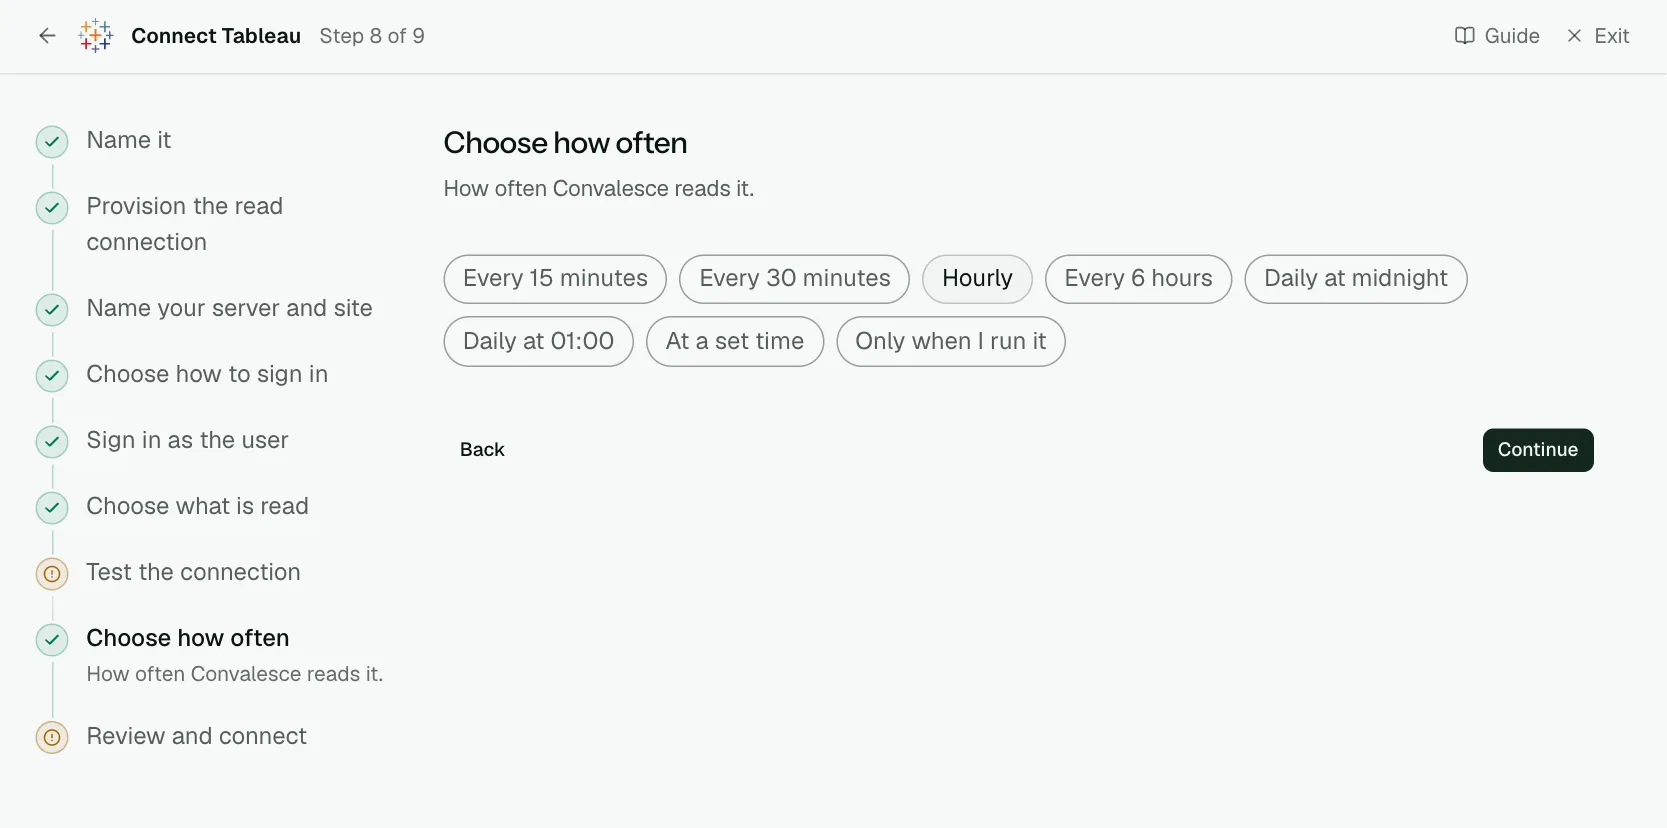
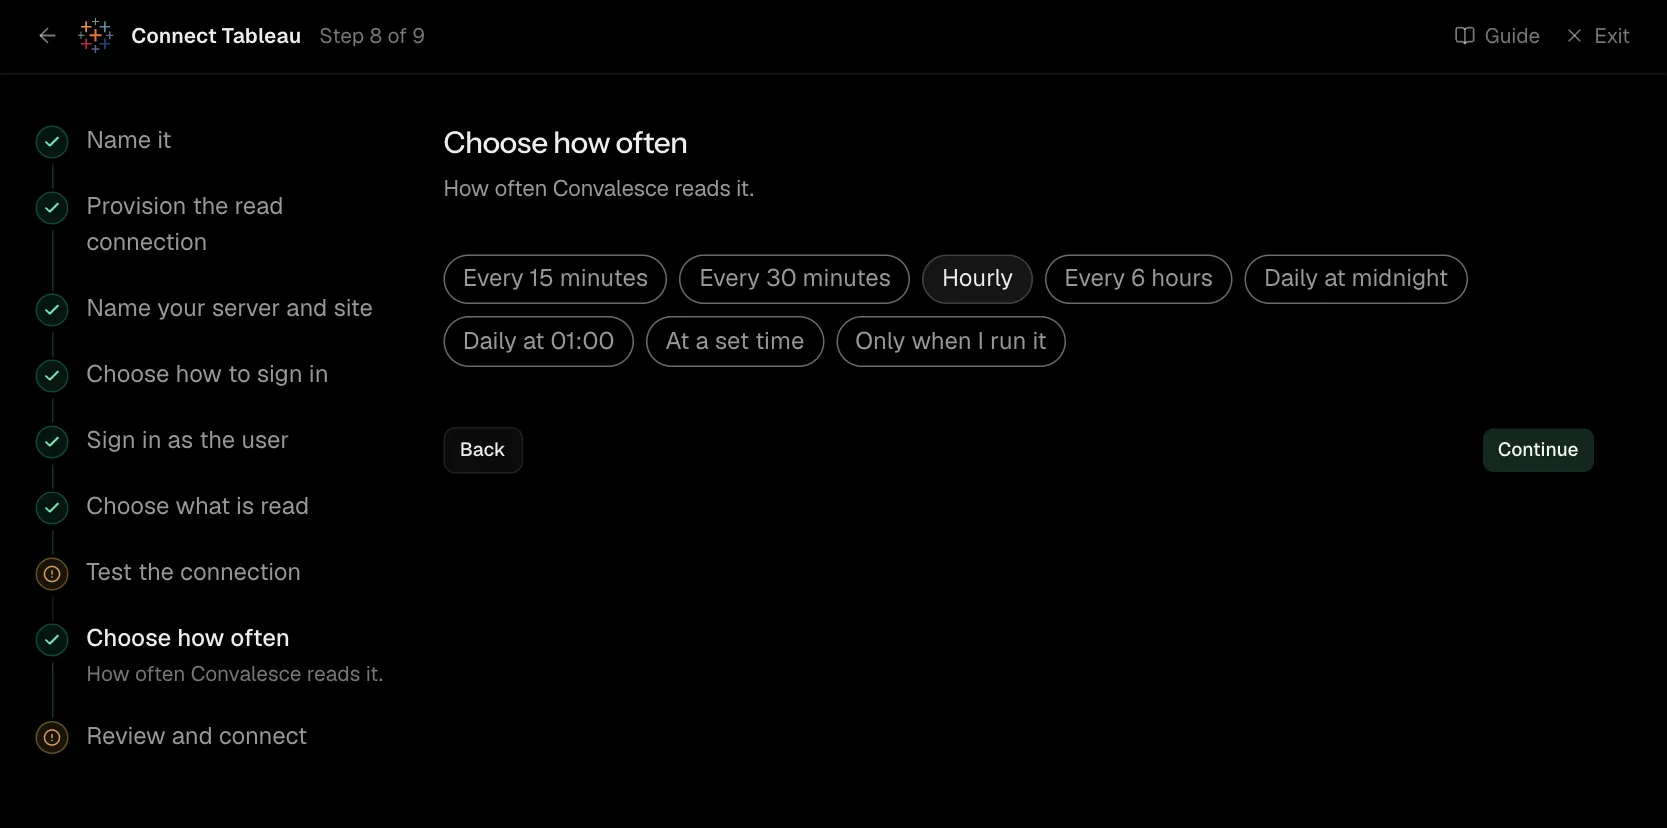
Step 8 of 9: Choose how often
How often Convalesce reads it.
Step 9 of 9: Review and connect
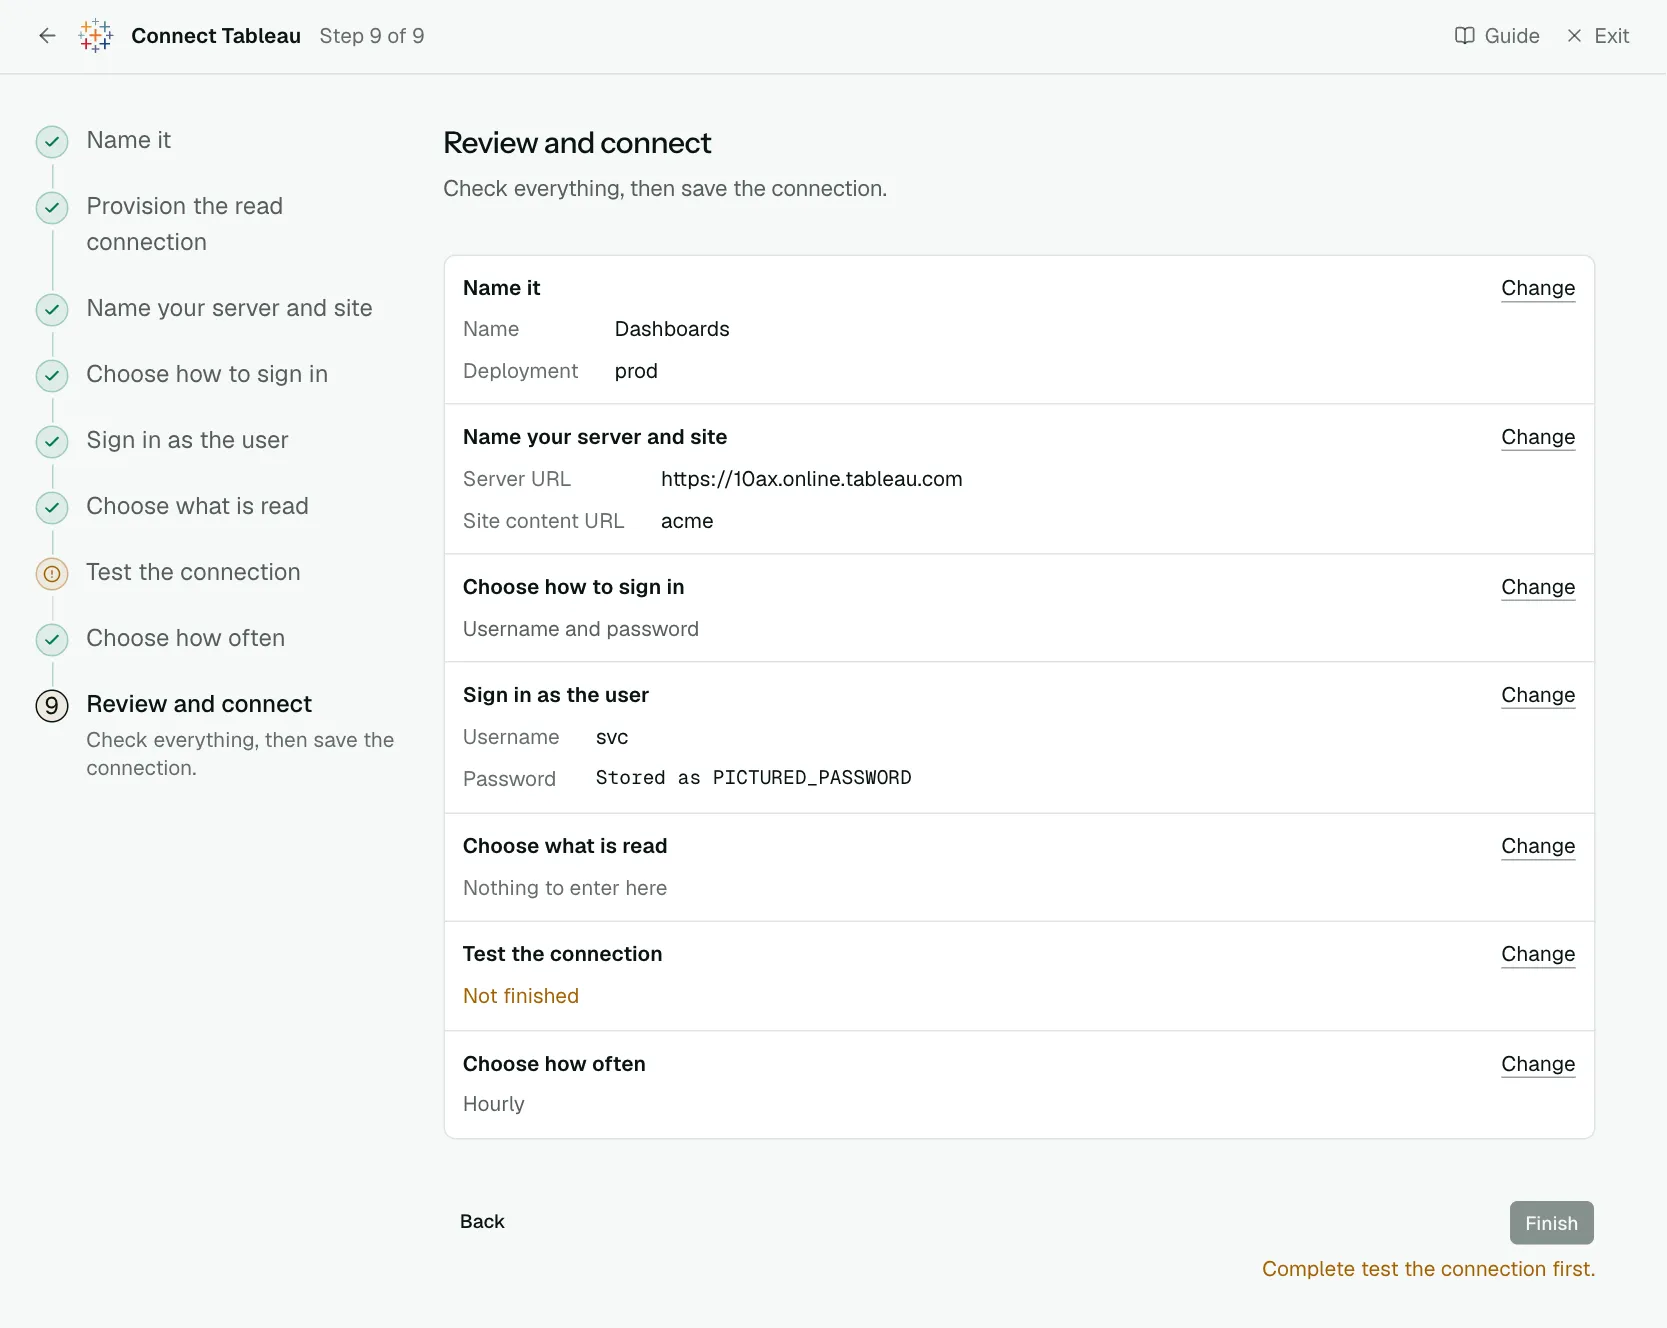
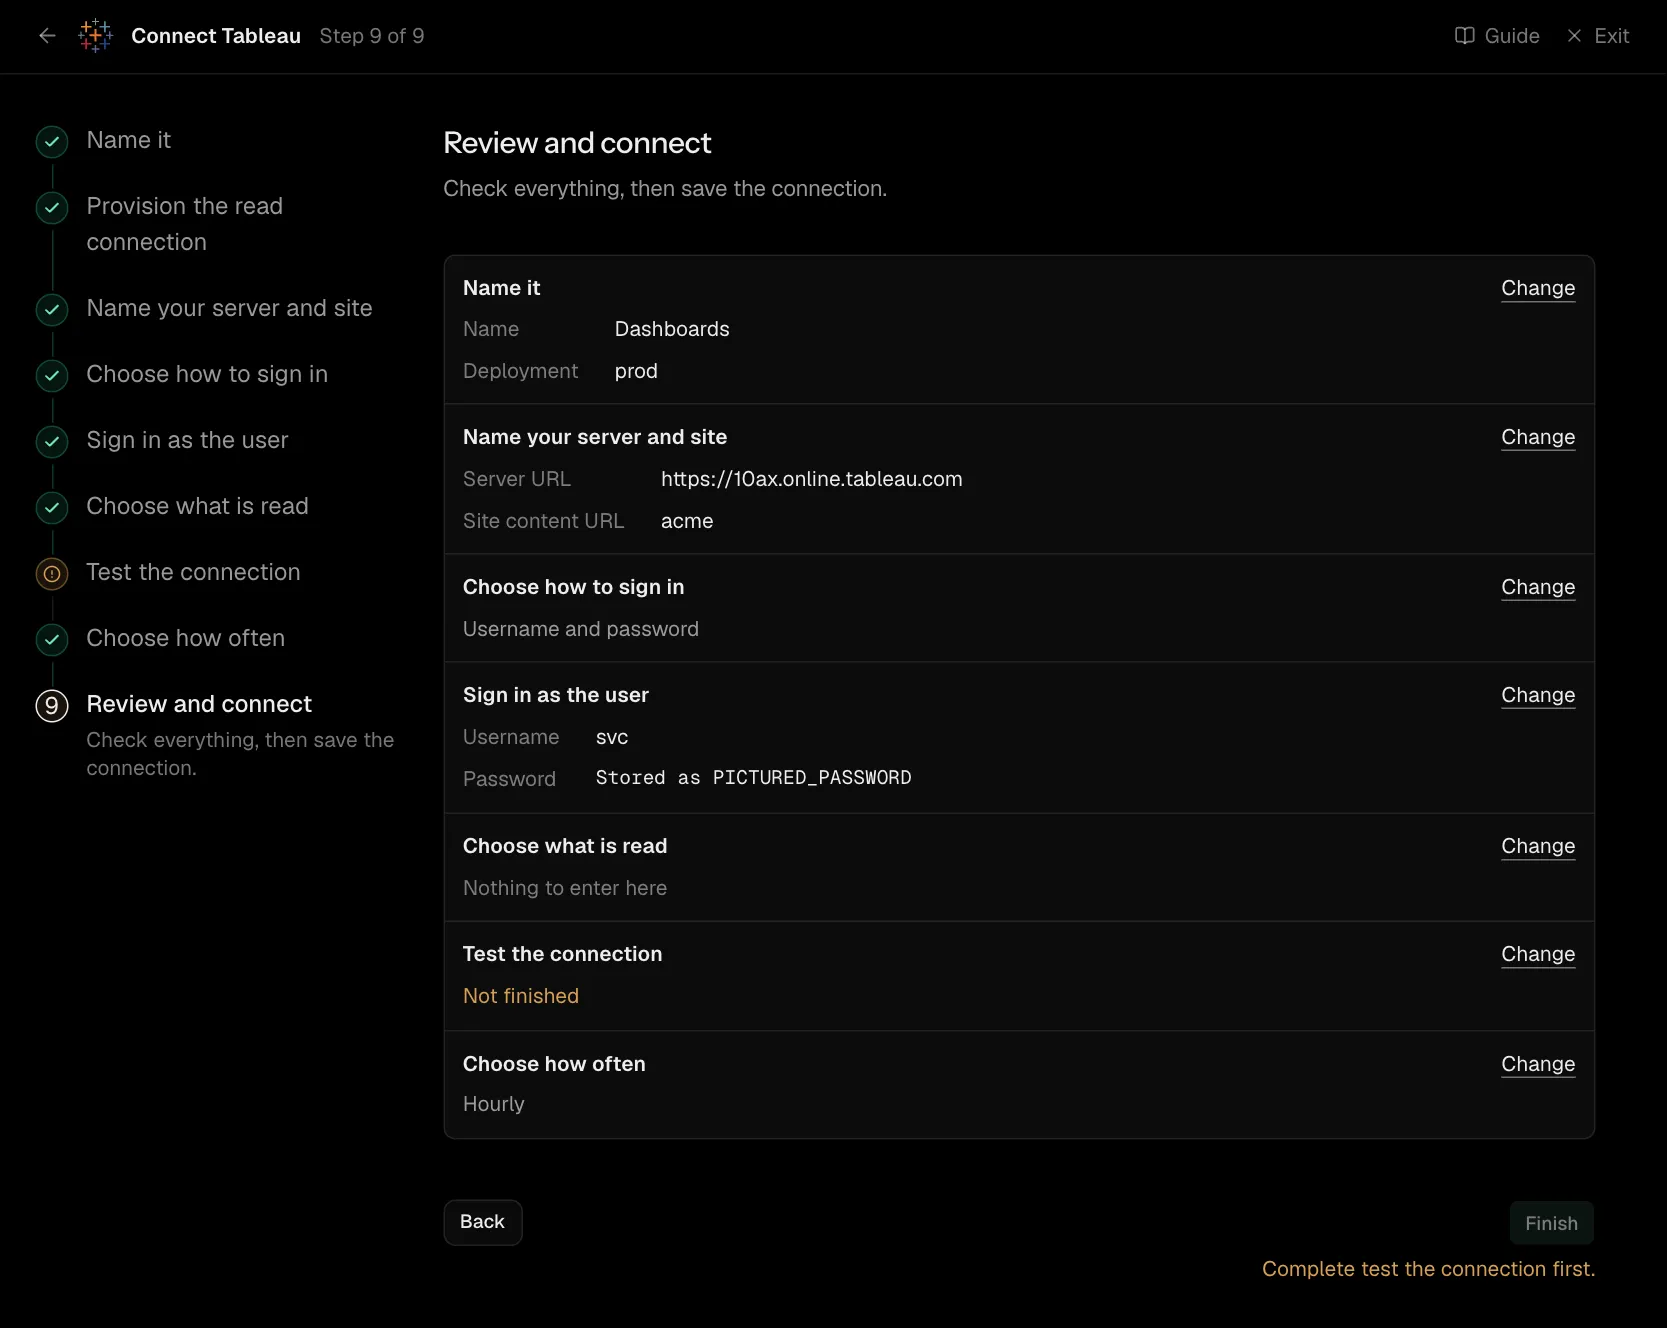
Check everything, then save the connection.
Network
Convalesce is a hosted service: it connects to Tableau Server over the internet from 34.66.85.47. Give Tableau Server a public address, and allow ours wherever inbound connections are limited: its firewall or load balancer. Tableau Cloud is already public and needs nothing.
Settings
What the connect screen asks for
| Input | On the step | Needed |
|---|---|---|
| Name | Name it | Yes |
| Deployment | Name it | Yes |
| Instance name | Name it | Optional |
| Server URL | Name your server and site | Yes |
| Site content URL | Name your server and site | Optional |
| Username | Sign in as the user | Yes |
| Password | Sign in as the user | Yes |
| Projects to read | Choose what is read | Optional |
| Projects to skip | Choose what is read | Optional |
| Token name | Add the personal access token | Yes |
| Token value | Add the personal access token | Yes |
Set for you
These are the same on every connection. The connect screen does not ask for them.
| What it means | Setting |
|---|---|
| Something that is no longer there is marked as removed. | stateful_ingestion.enabled: true |
Troubleshooting
- The test says it could not reach it. A Tableau Server has to have a public address that allows
34.66.85.47. Tableau Cloud needs nothing. See Network access. - Only some workbooks come through. The reading user needs the Site Administrator Explorer role to see everything on the site.
- Sign-in fails with a token. A personal access token expires if it is not used for 15 days. Create a new one and replace it.
- The site is not found. Enter the site's content URL, the part after
/site/in your Tableau address.